Access & Registration
The functionality of the patient portal mobile app mirrors the existing patient portal web interface, with additional features for adding driver's licenses, insurance cards, and viewing recent activities. Both New and Existing registration flows now include an email OTP verification step before account activation.
Via PracticeEHR System
Login window for accessing the Patient Portal directly through the PracticeEHR system.
Via Website
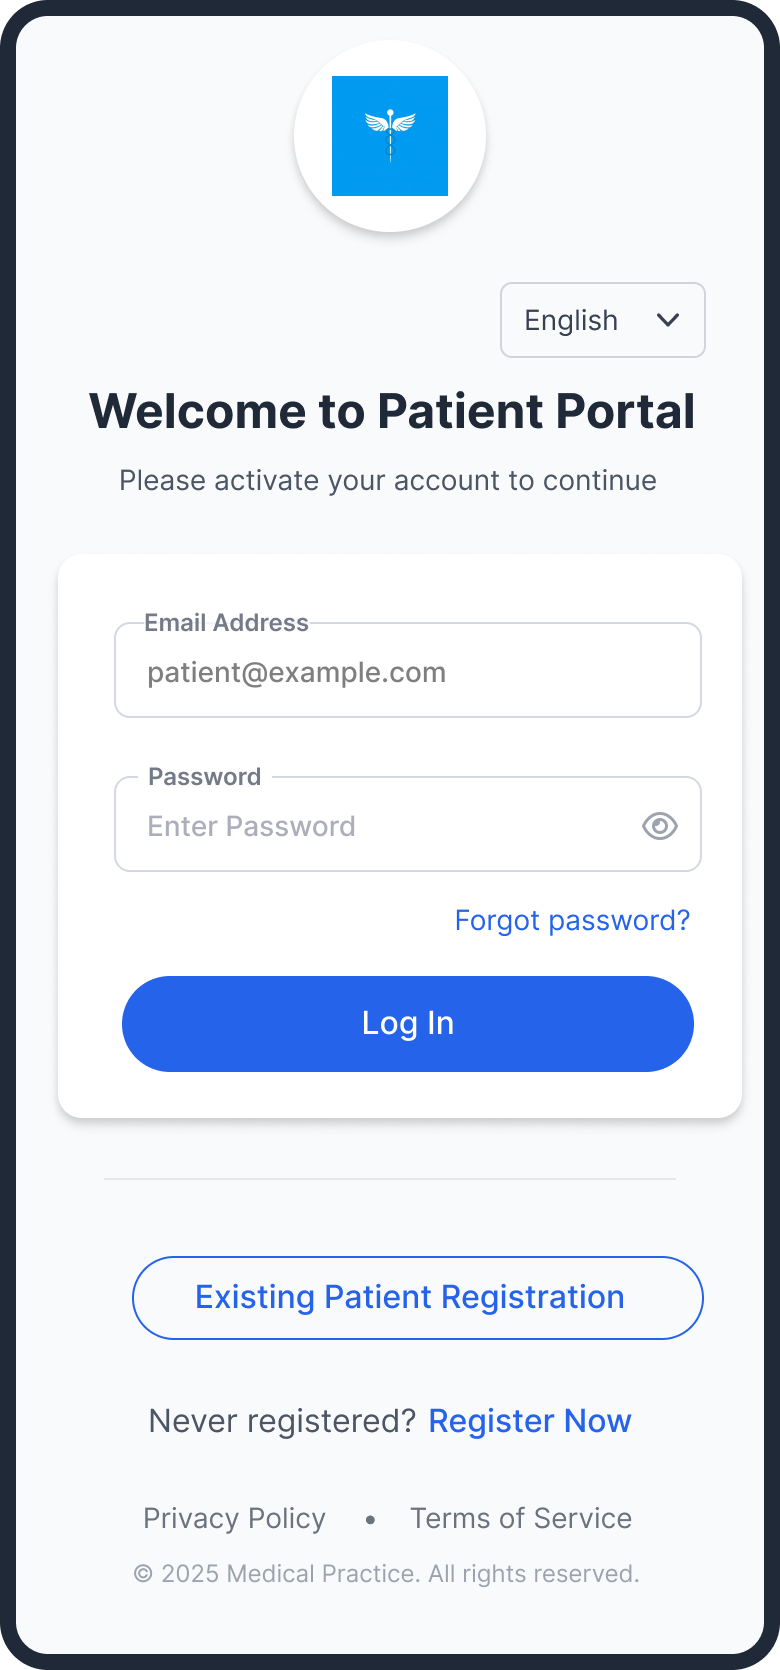
Login window for accessing the patient portal via the standard website URL.
Step 1 - Registration Forms
Patients start by completing either the New Patient or Existing Patient registration form in the mobile app. The email address entered here is used to send the OTP code in the next step.
New Patient Registration
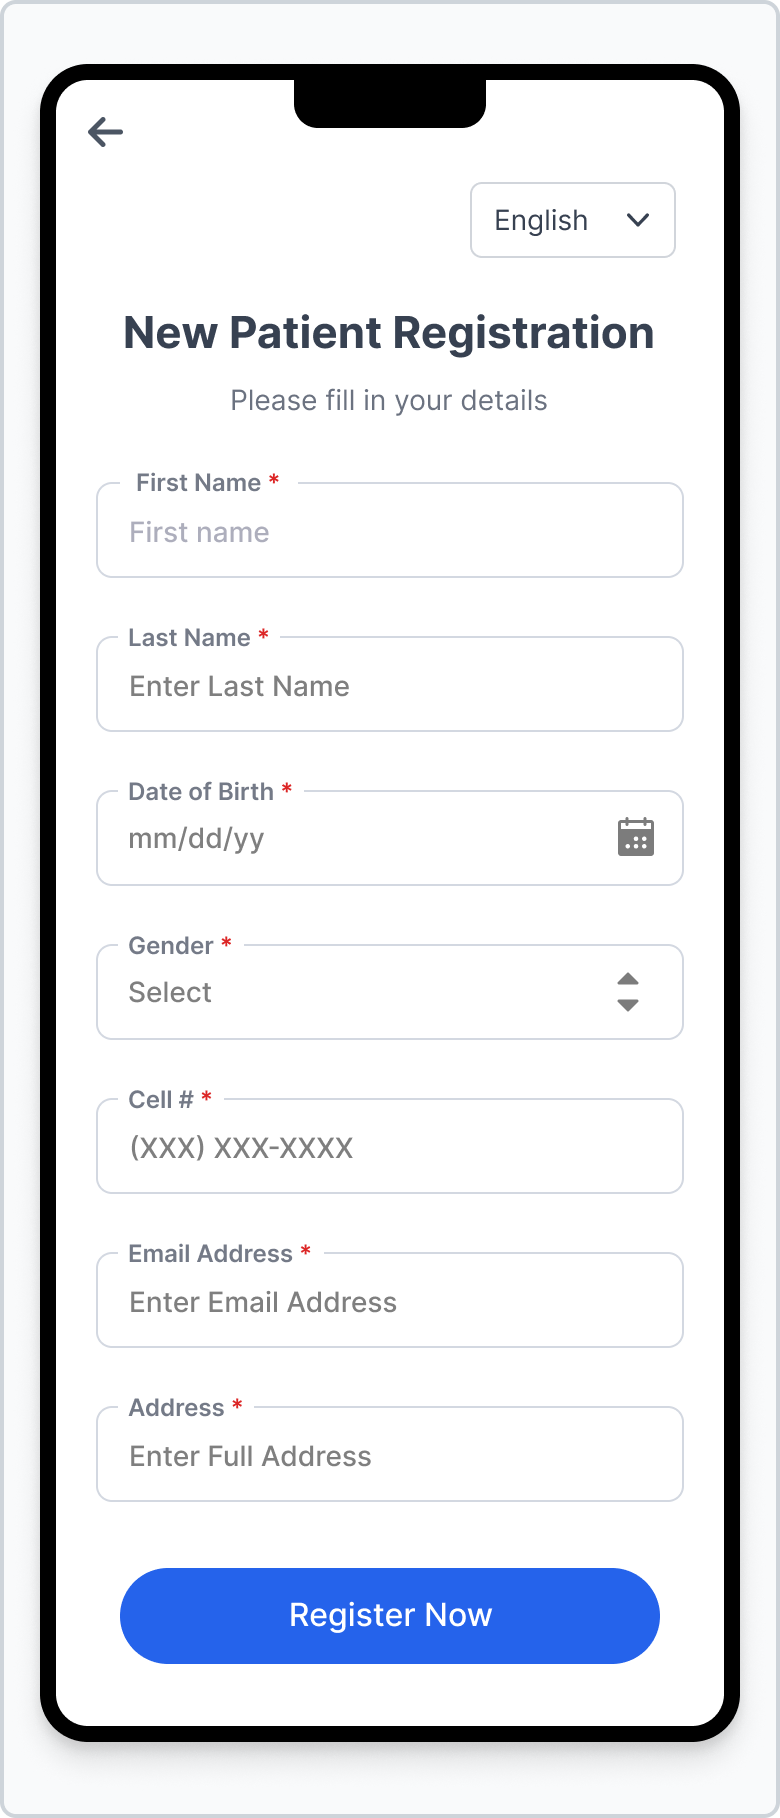
Fields for new patient registration have been reduced to streamline the process.
Existing Patient Registration

Existing patients can link their portal account using demographics already on file.
Step 2 - Email OTP Verification
After submitting the registration form, an OTP is sent to the patient's email address. The app displays an OTP entry screen where the user must enter the received code to verify ownership of the email address.
If the OTP is incorrect or expired, the user is prompted to try again or request a new code.
New Patient - Verify Email
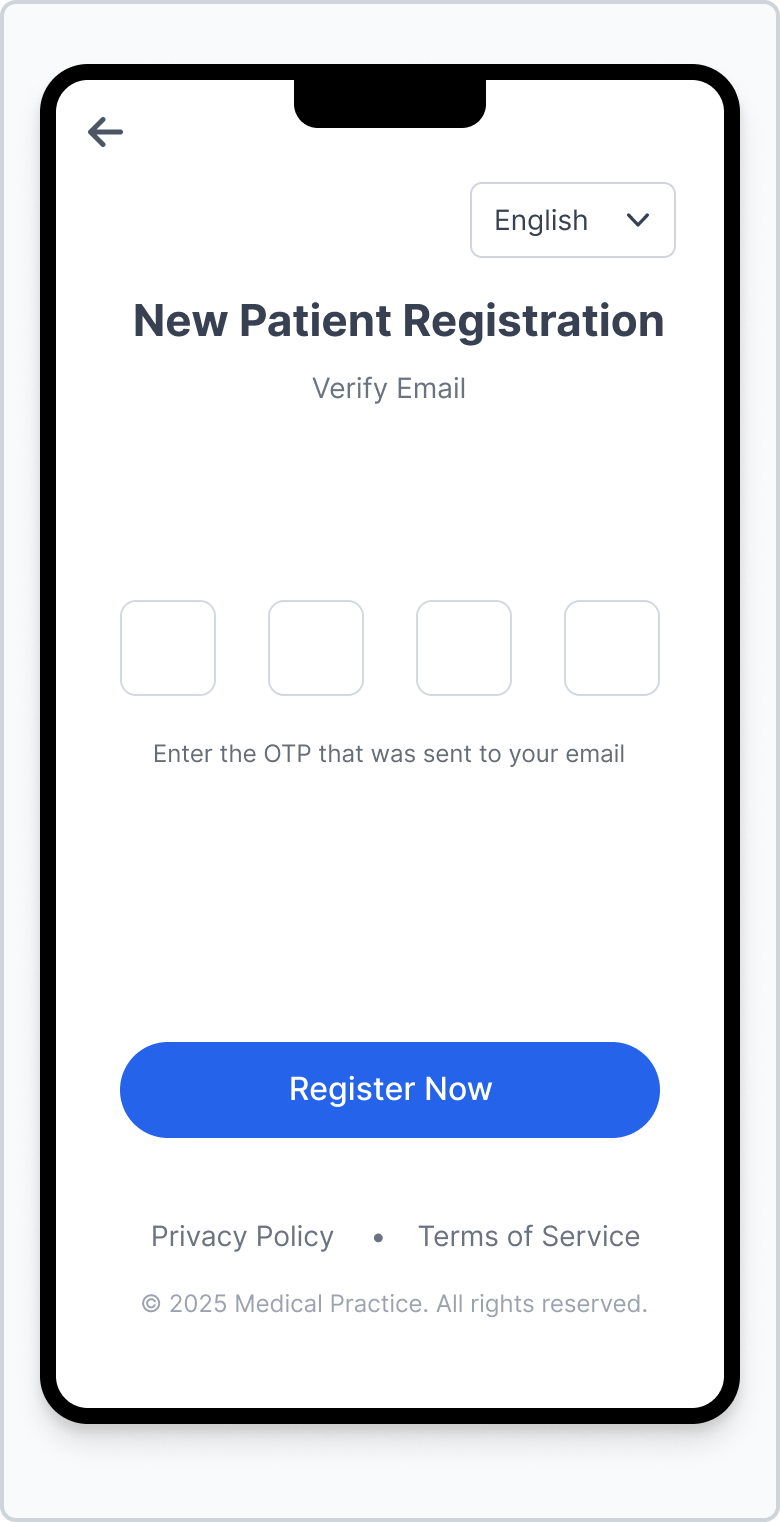
The OTP fields validate the code sent to the email provided during new patient registration.
Existing Patient - Verify Email

Existing patients complete the same OTP step to confirm their email before activating the account.
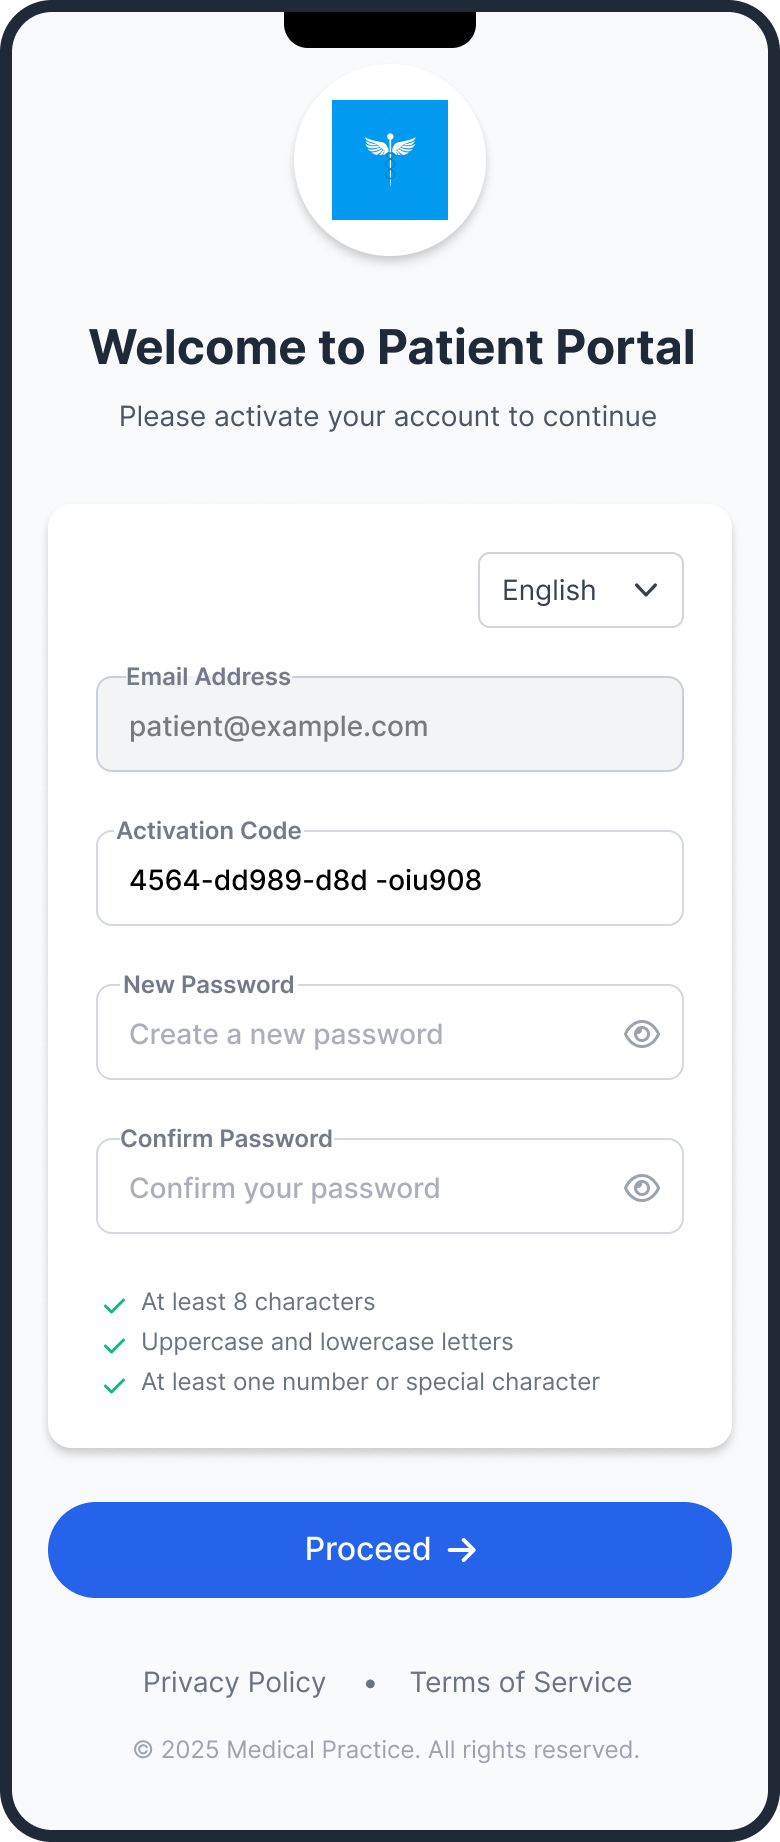
Step 3 - Account Activation & Password Setup
Upon successful OTP verification, the user is taken to the activation screen where they can enter their activation code (if provided) and set a secure password for the mobile patient portal. After this step, patients can use the same credentials to log in on both web and mobile.
Home & Dashboard
Overview of recent activity, document uploads, and reminders.
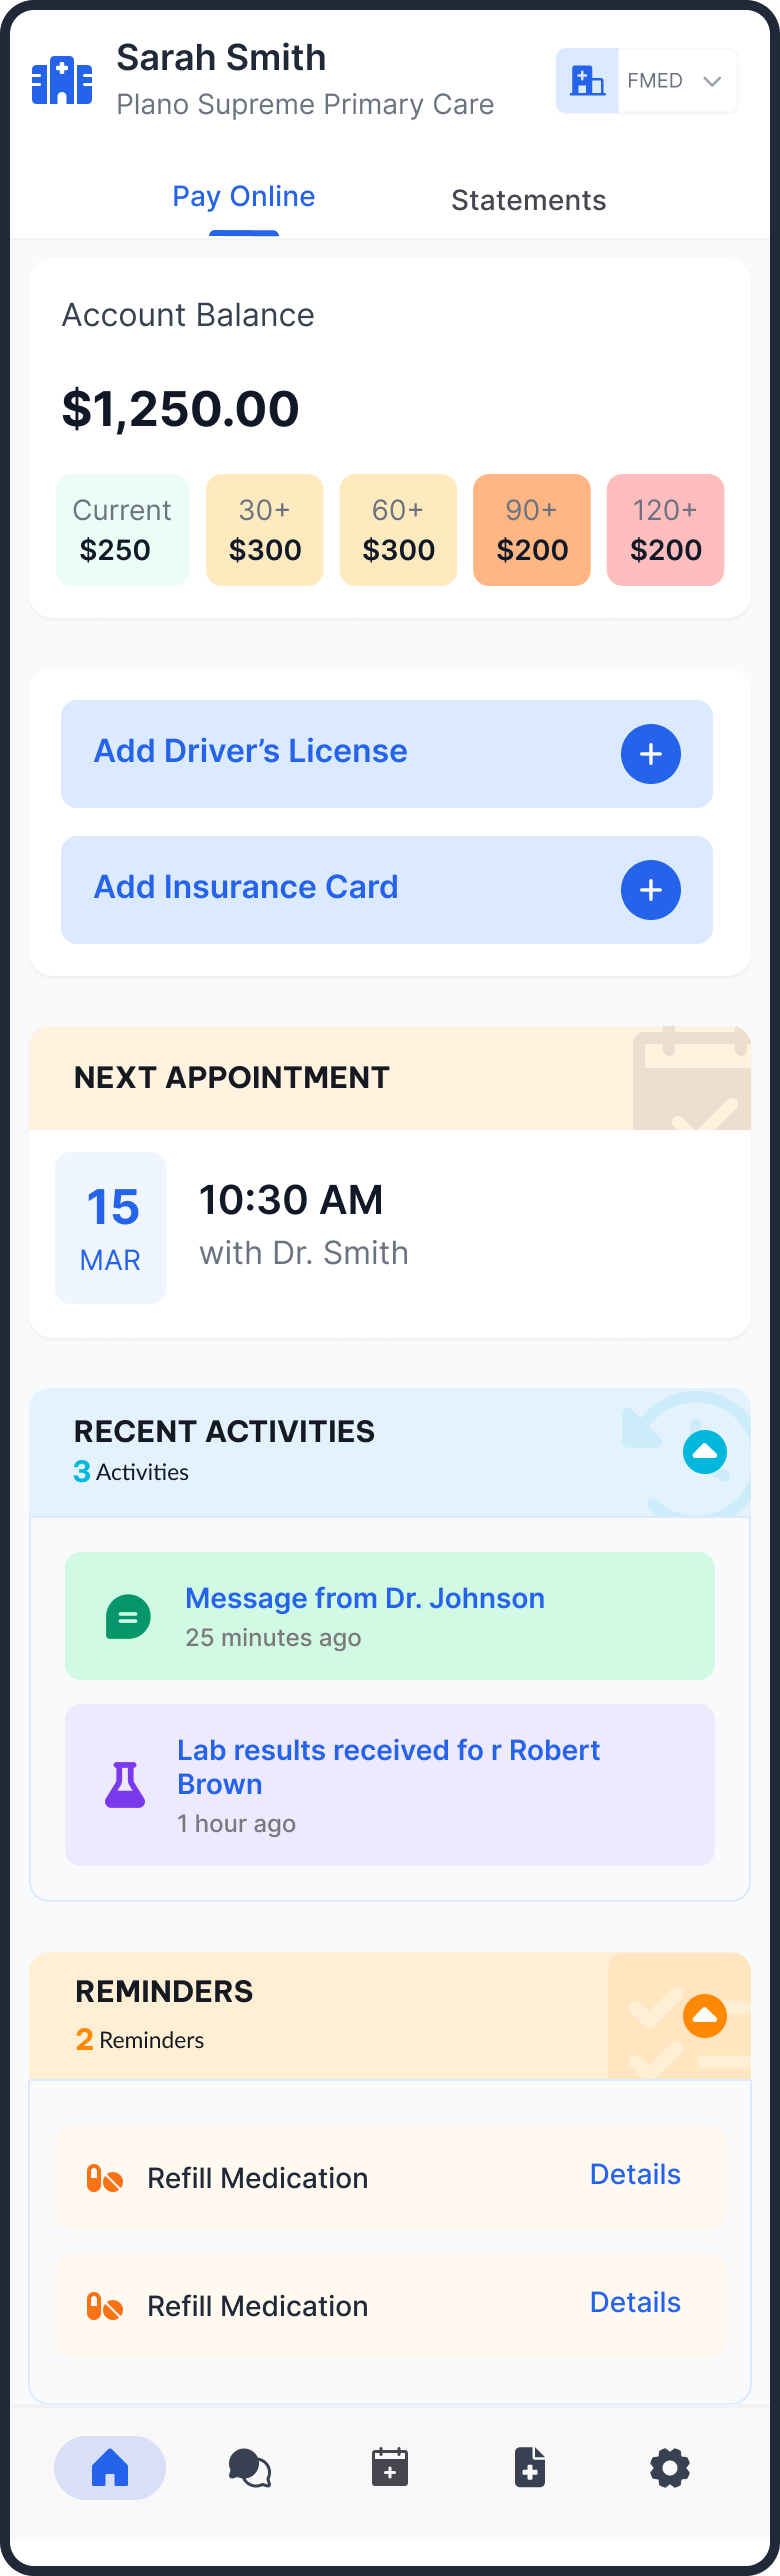
Reminders & Recent Activity
Clicking on a reminder detail navigates the user to the Message tab and opens the specific reminder.
Expired Document Alert
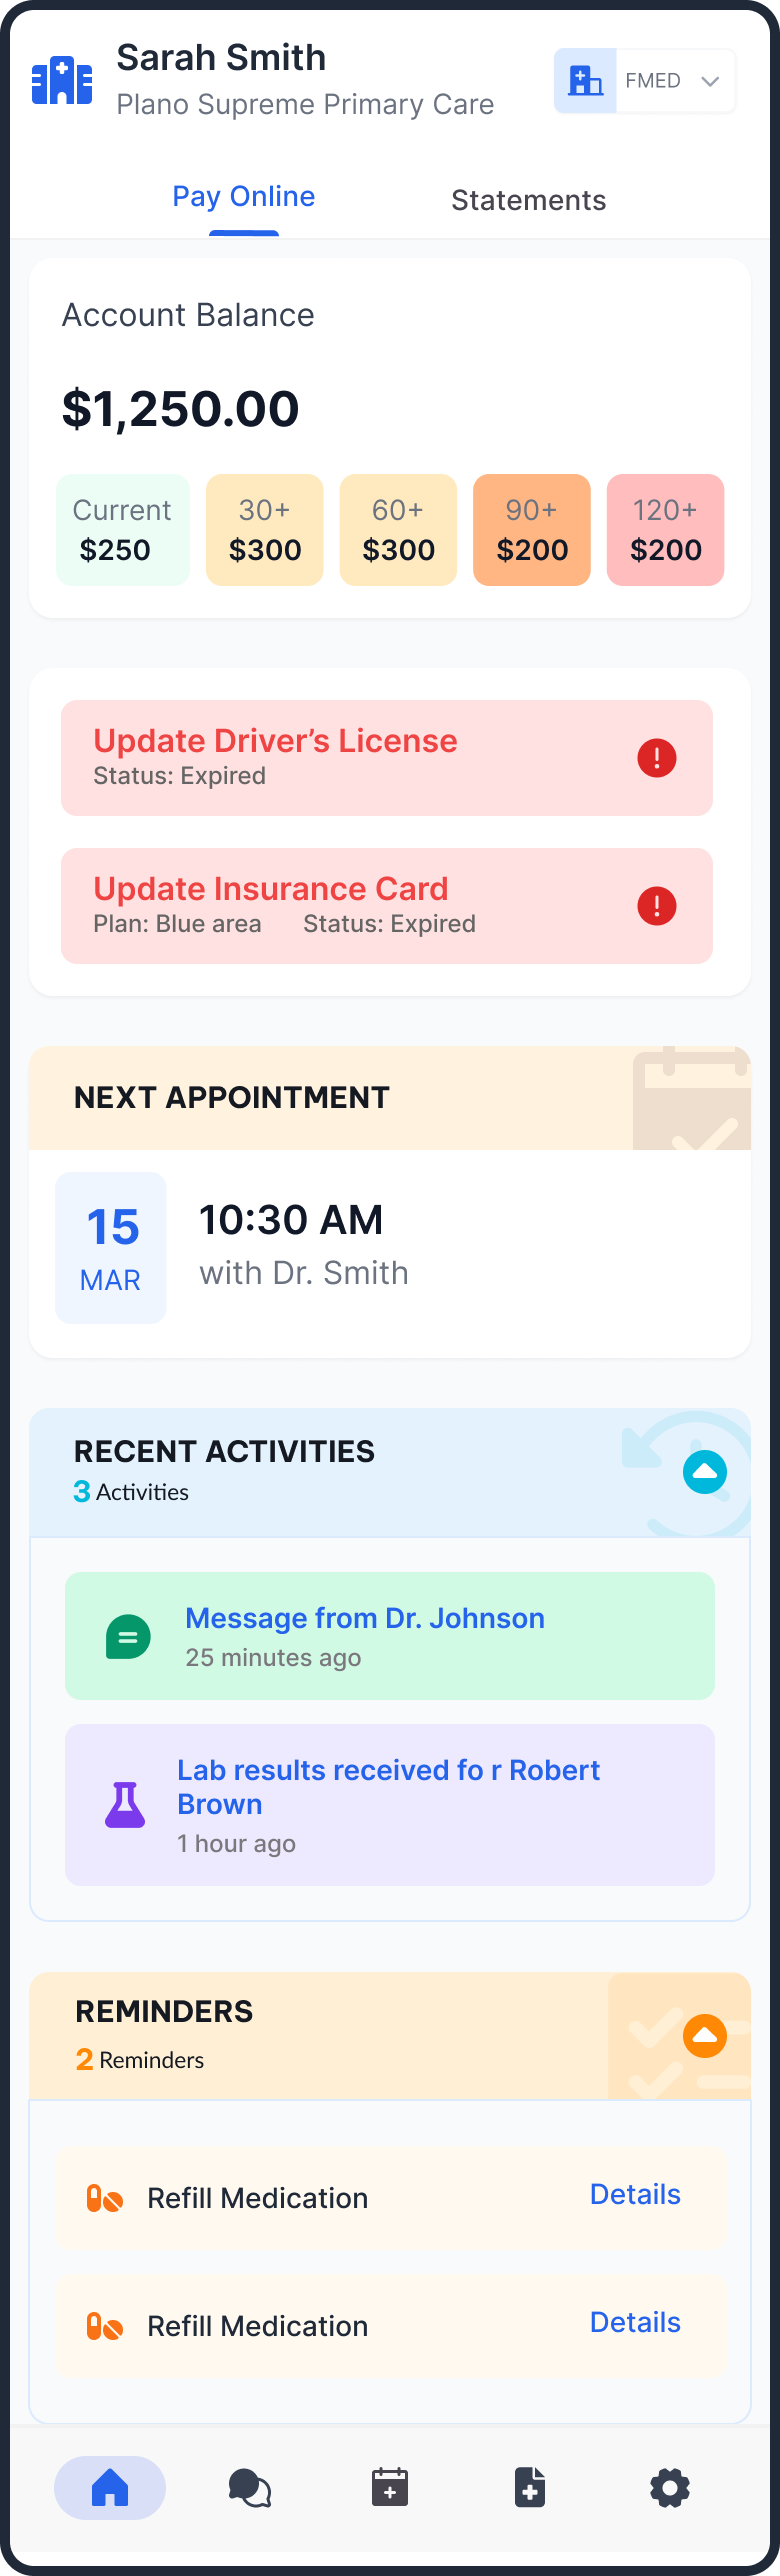
If a document is expired, the card will display an alert status, prompting the user to update.
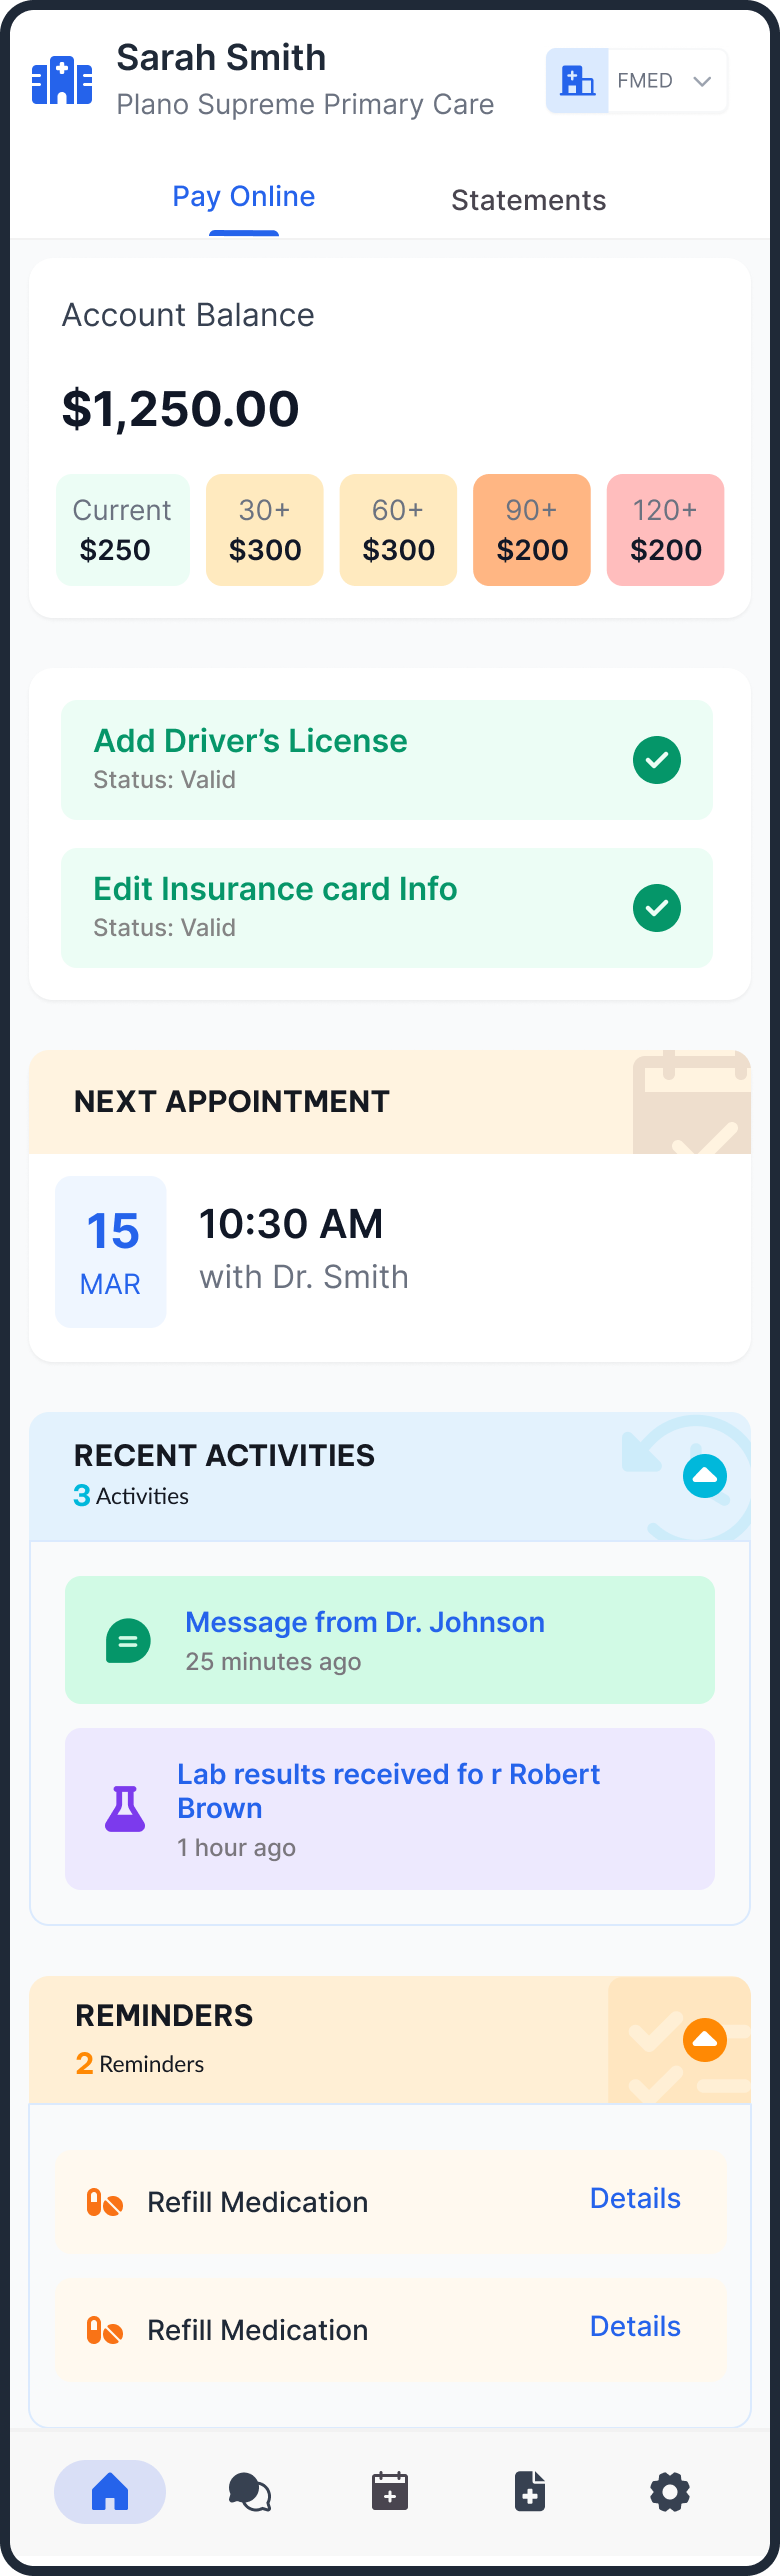
Current License
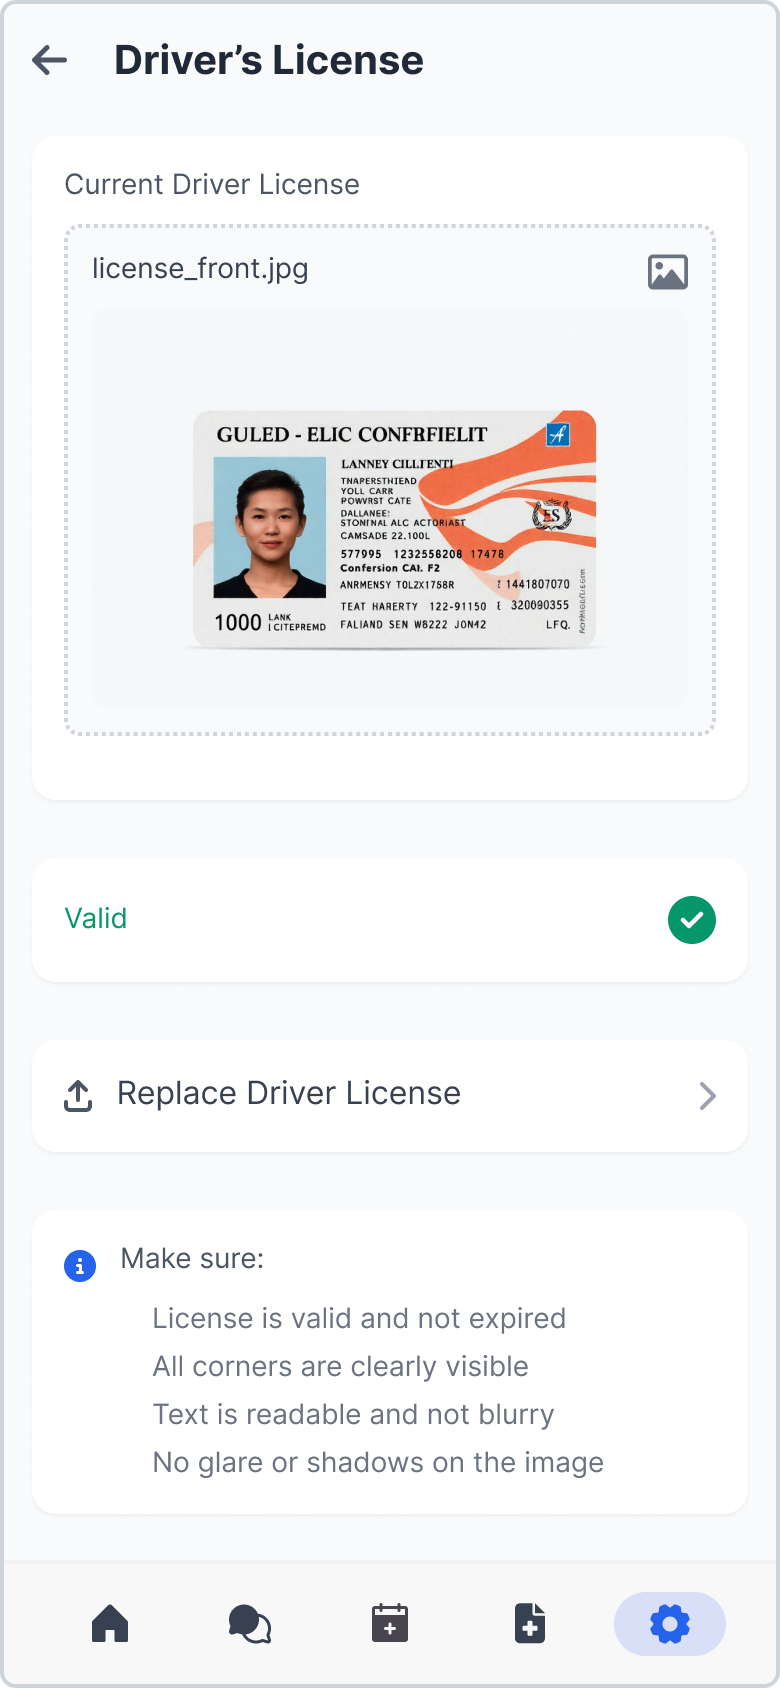
If a license is already added, users can replace it via the "Replace Driver's License" button.
Expired State
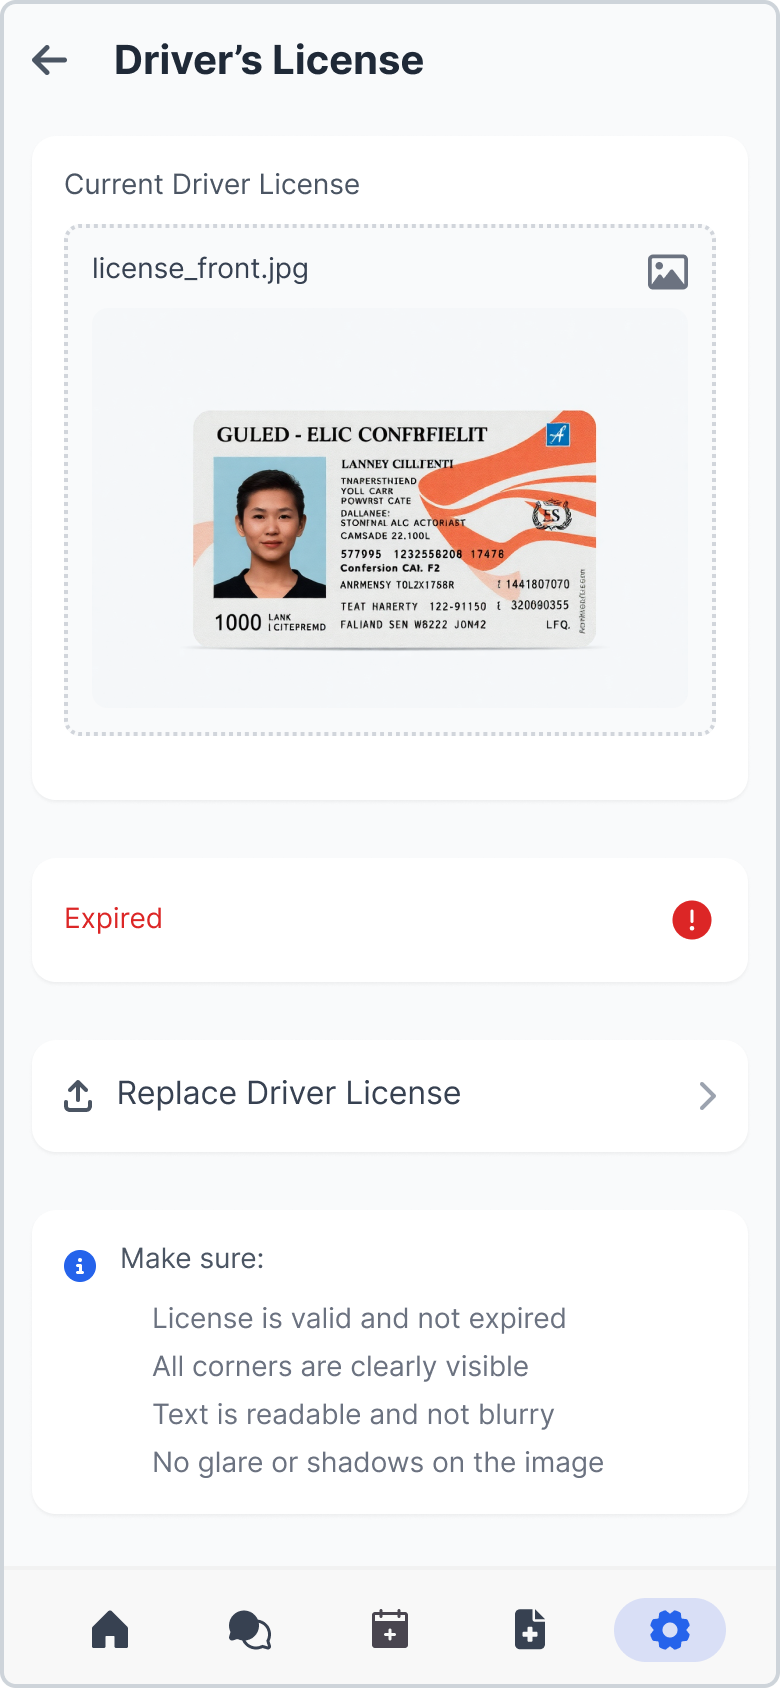
If expired, the status changes to an alert.
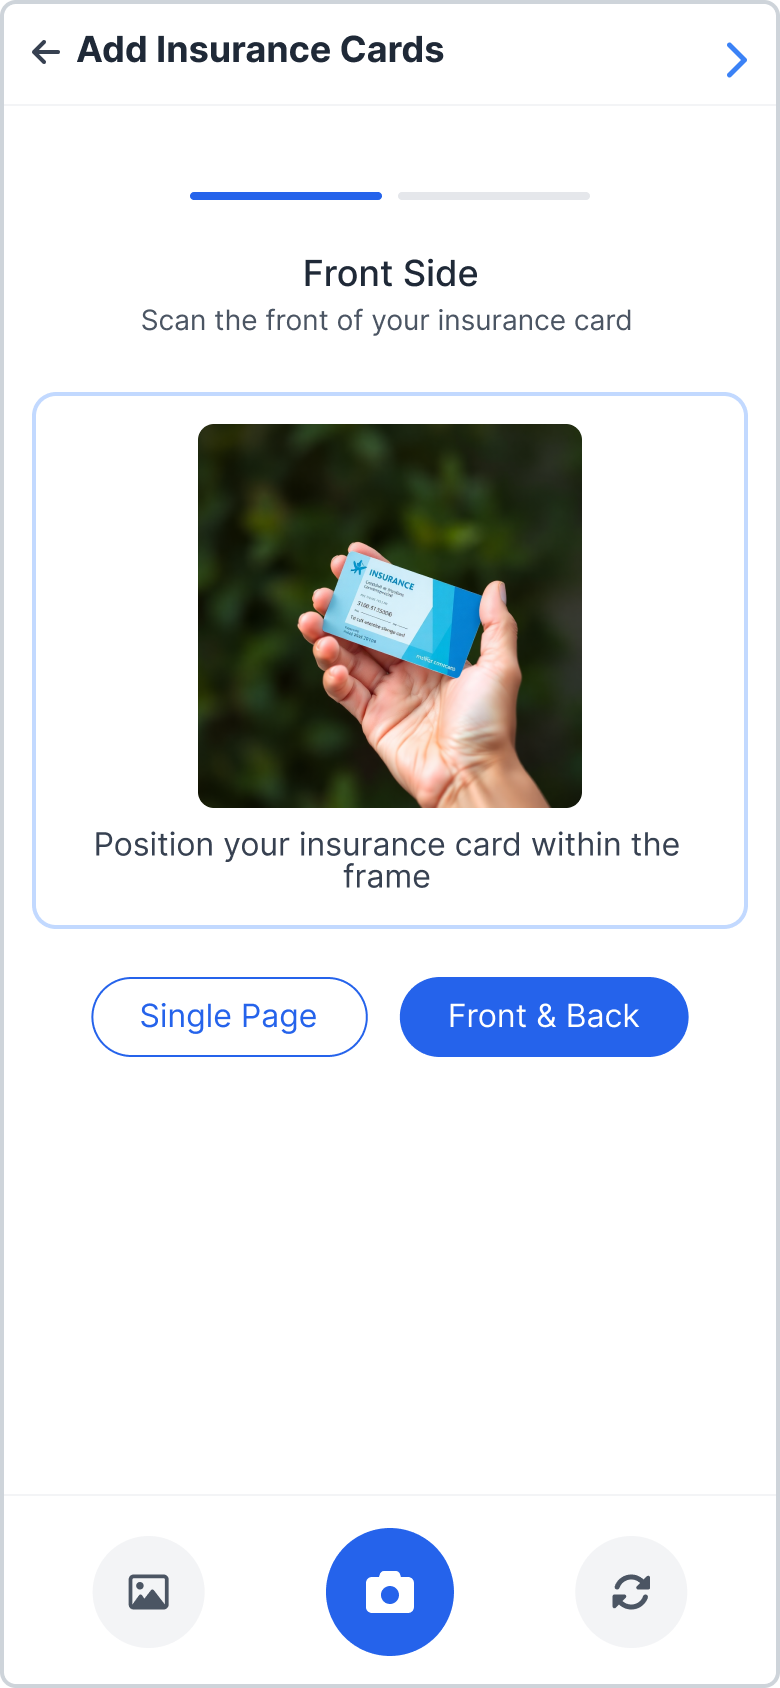
Upload Front
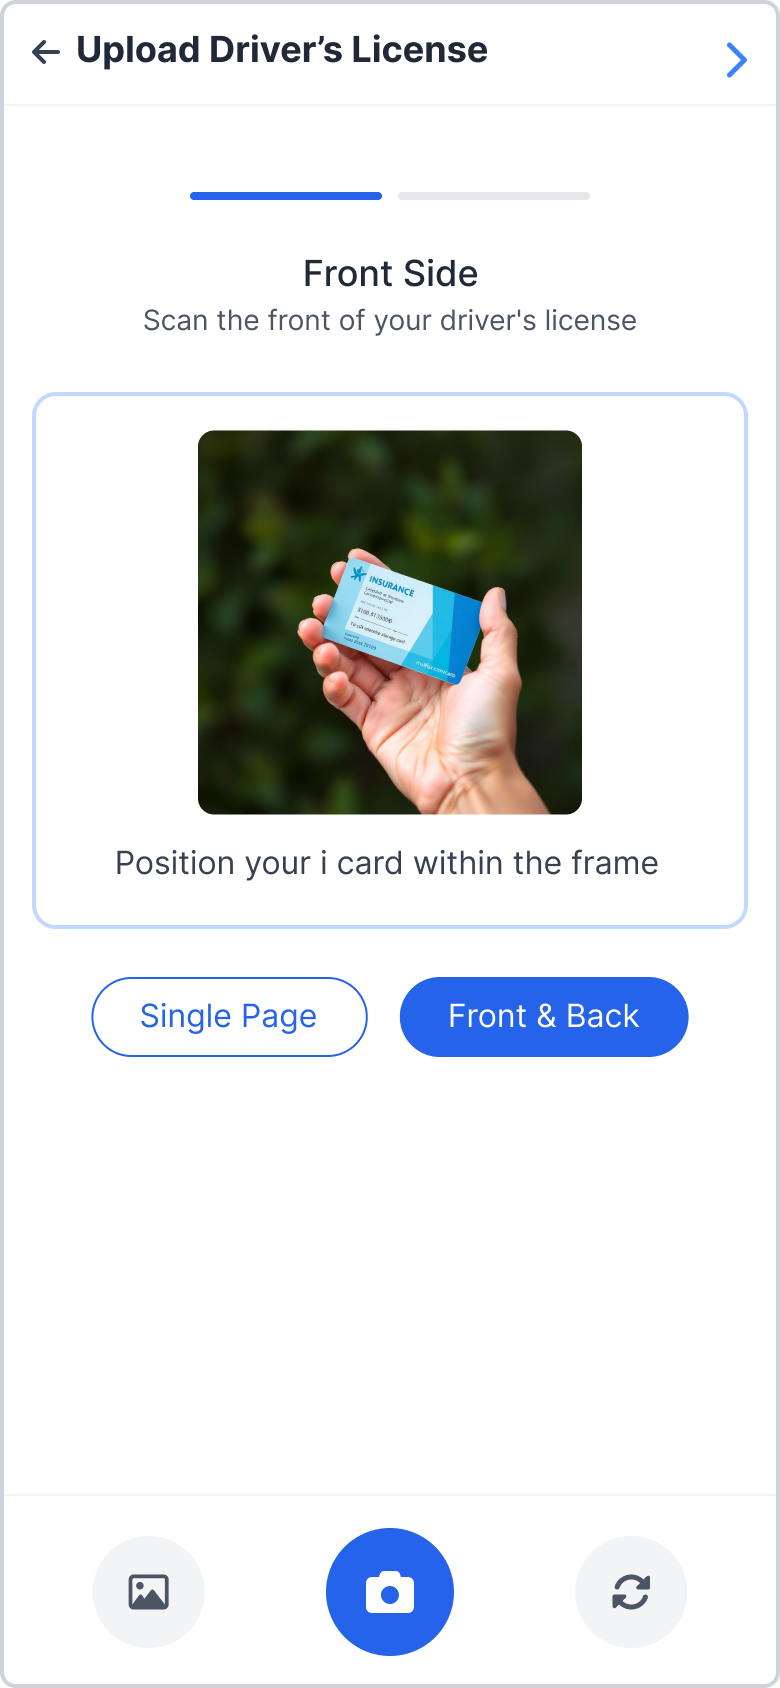
Front Side Capture.
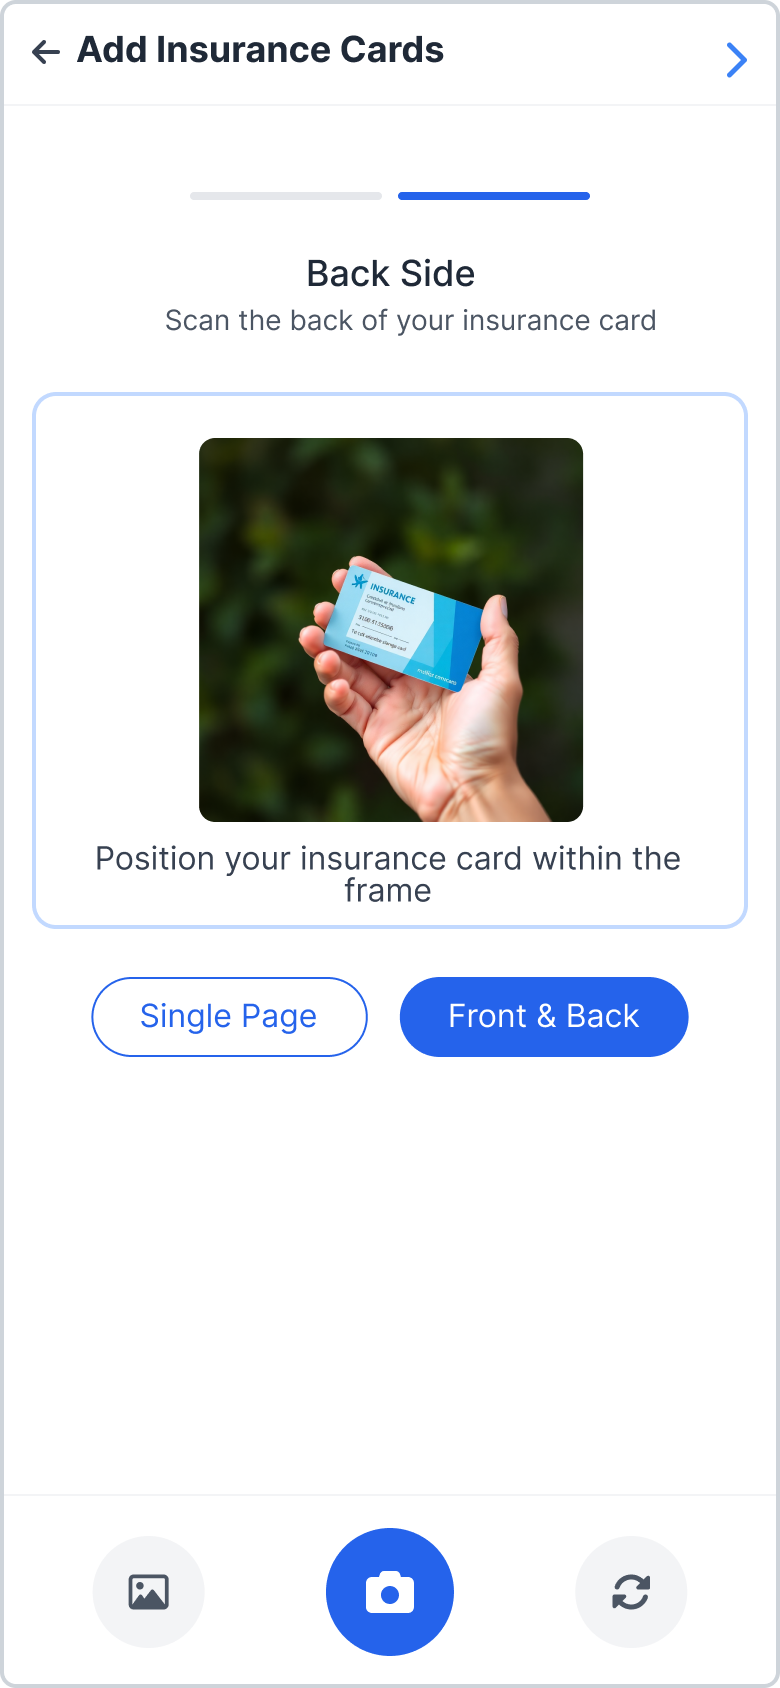
Upload Back
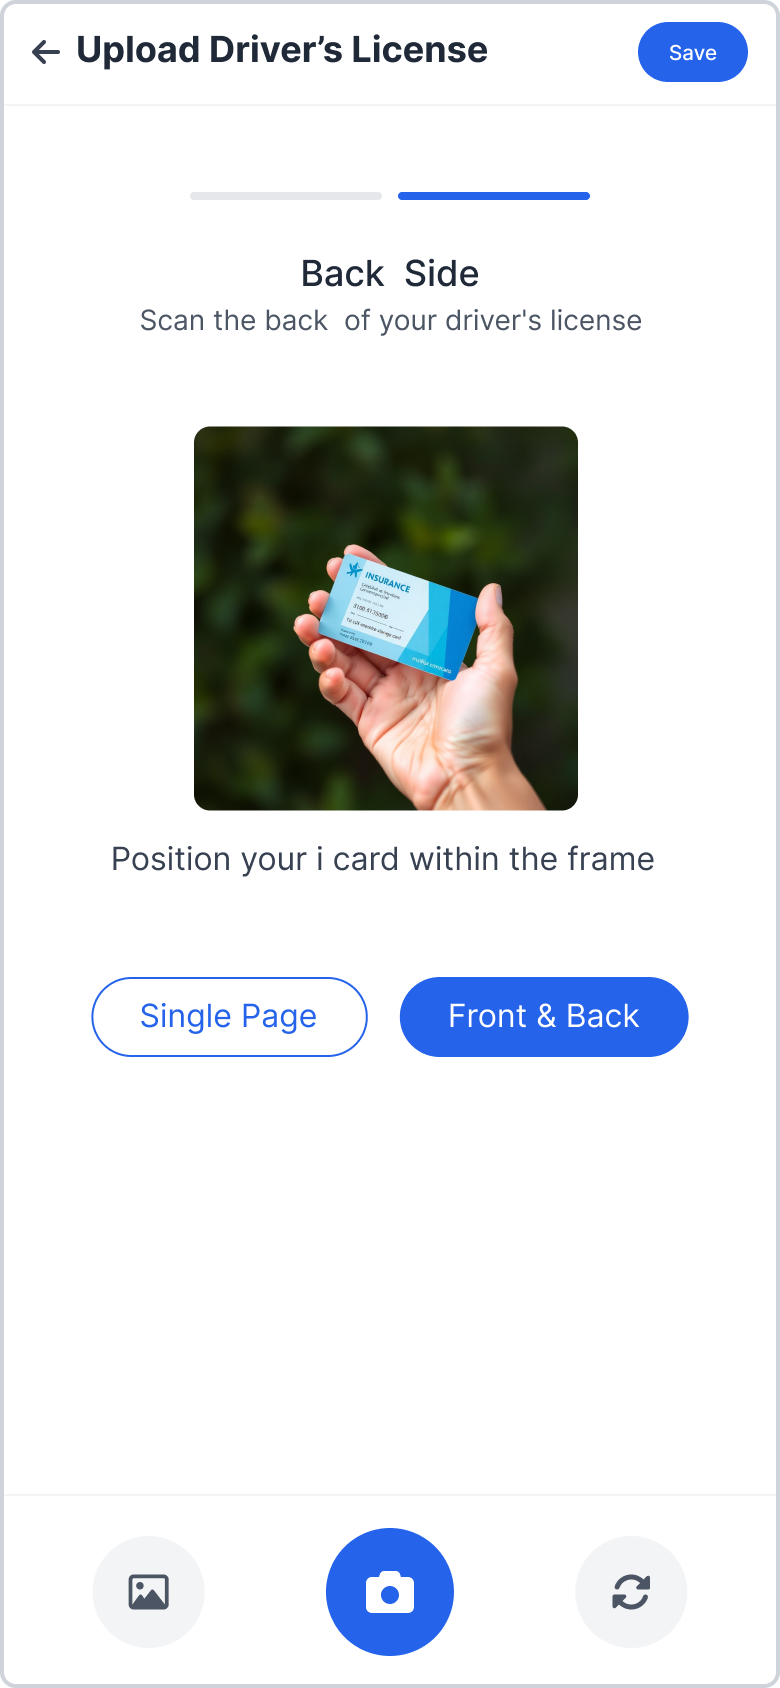
Back Side Capture.
Insurance Cards
Upload, verification, and automated logic for patient matching.
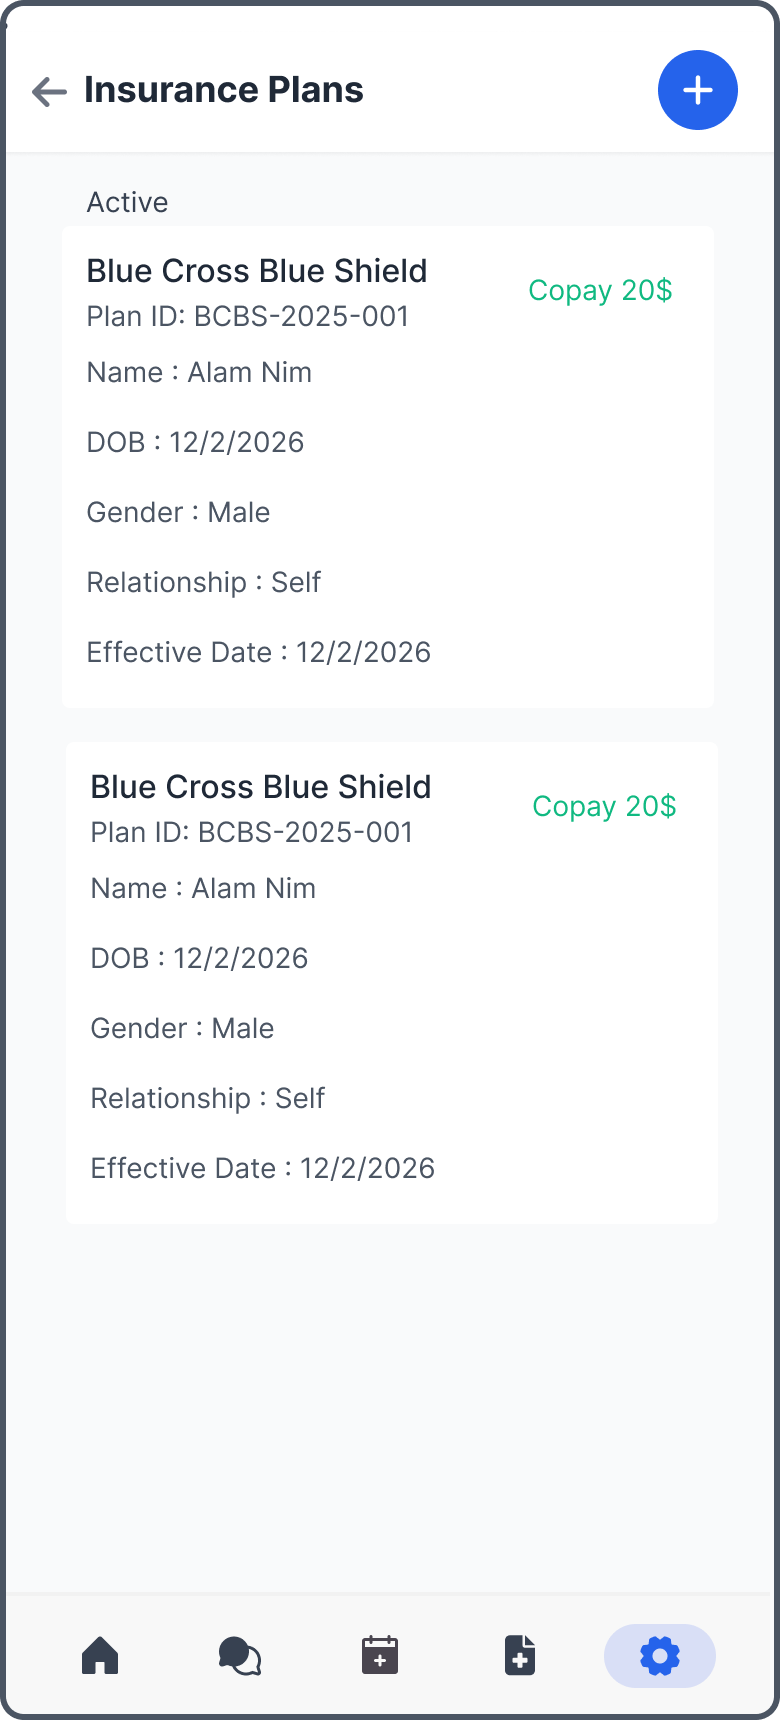
Users can add insurance cards either from the dashboard or via the Settings tab.
Note: This feature is flag-based, as not all users grant permission for patients to upload insurance cards.
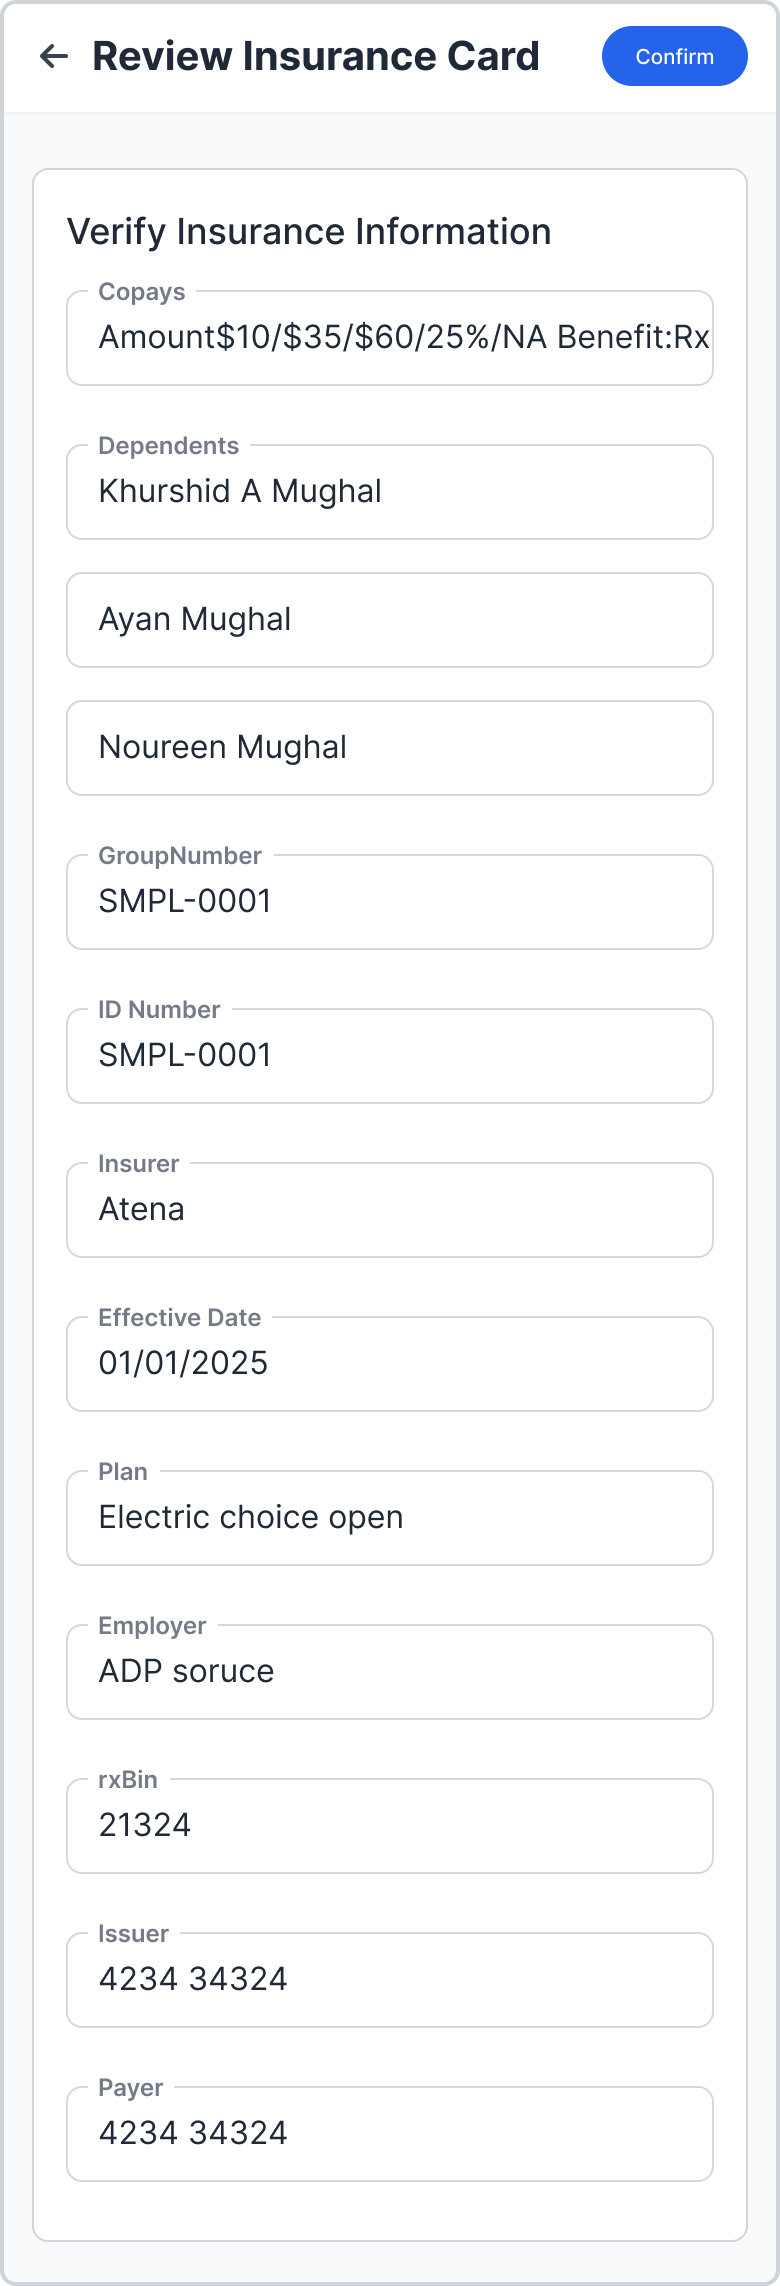
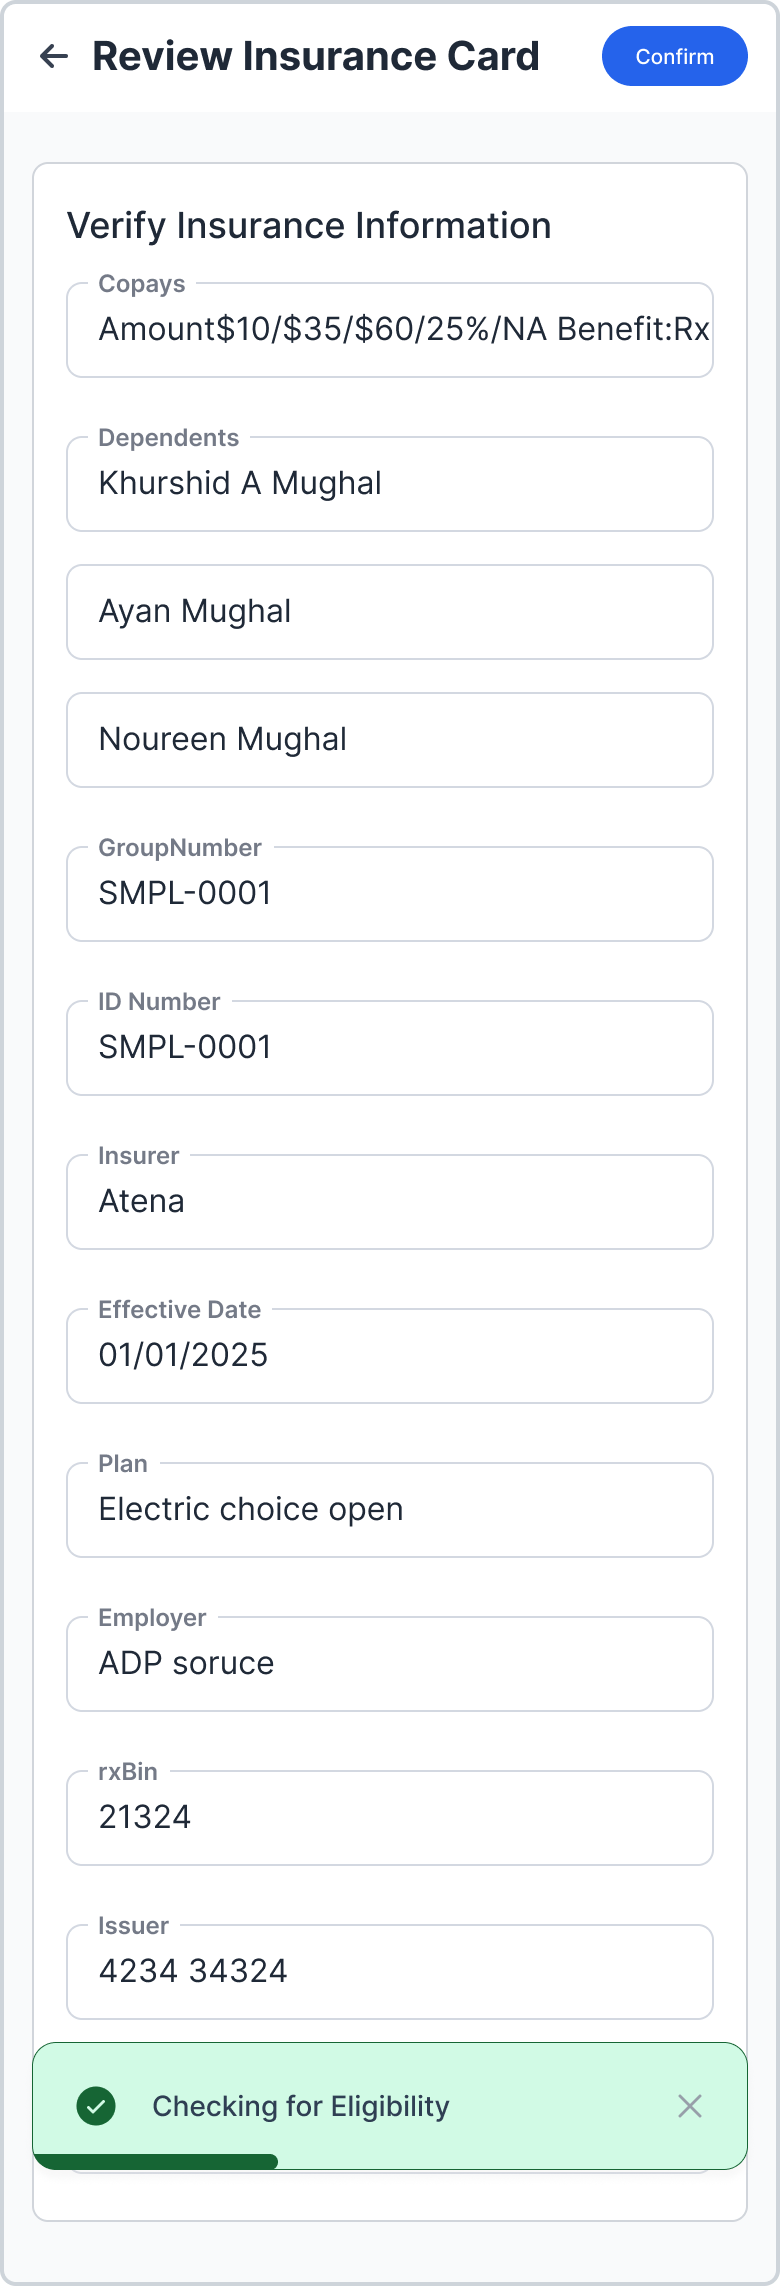
Matching Logic & Rules
After uploading, users review the information and can edit if necessary before clicking the Confirm button.
-
Rule #1: The system matches the patient's first name and last name with the dependent names available on the card.
Match Found: The insurance loads as SELF. - Rule #2: If the Insurer is MEDICAID, the system skips Rule #1 and automatically loads the patient as SELF.
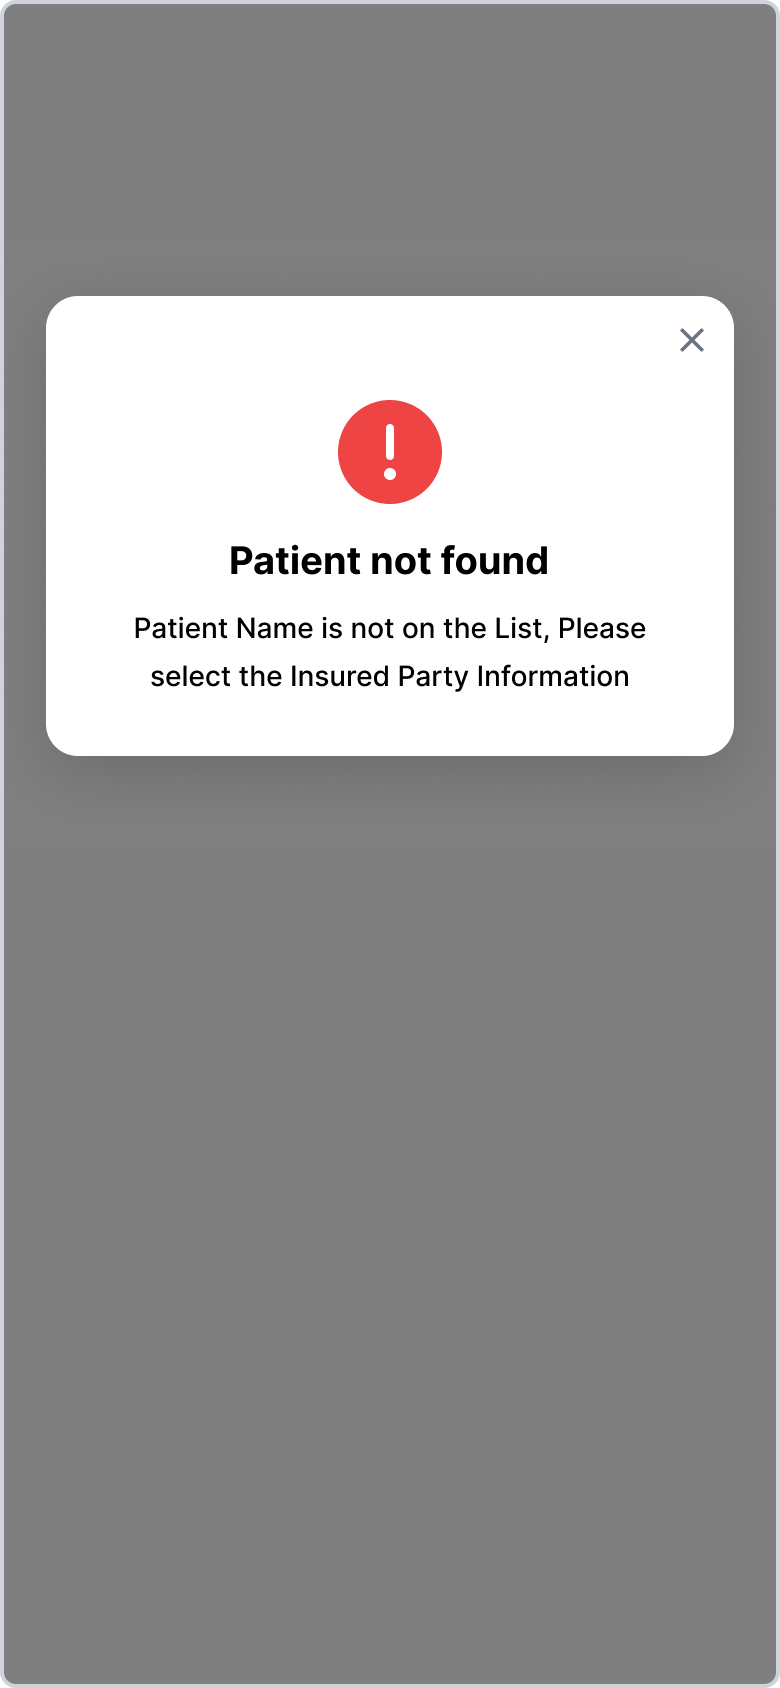
- Rule #3: If no match is found, an error is displayed (see Image 60.png) prompting the user to manually add the insured party information.
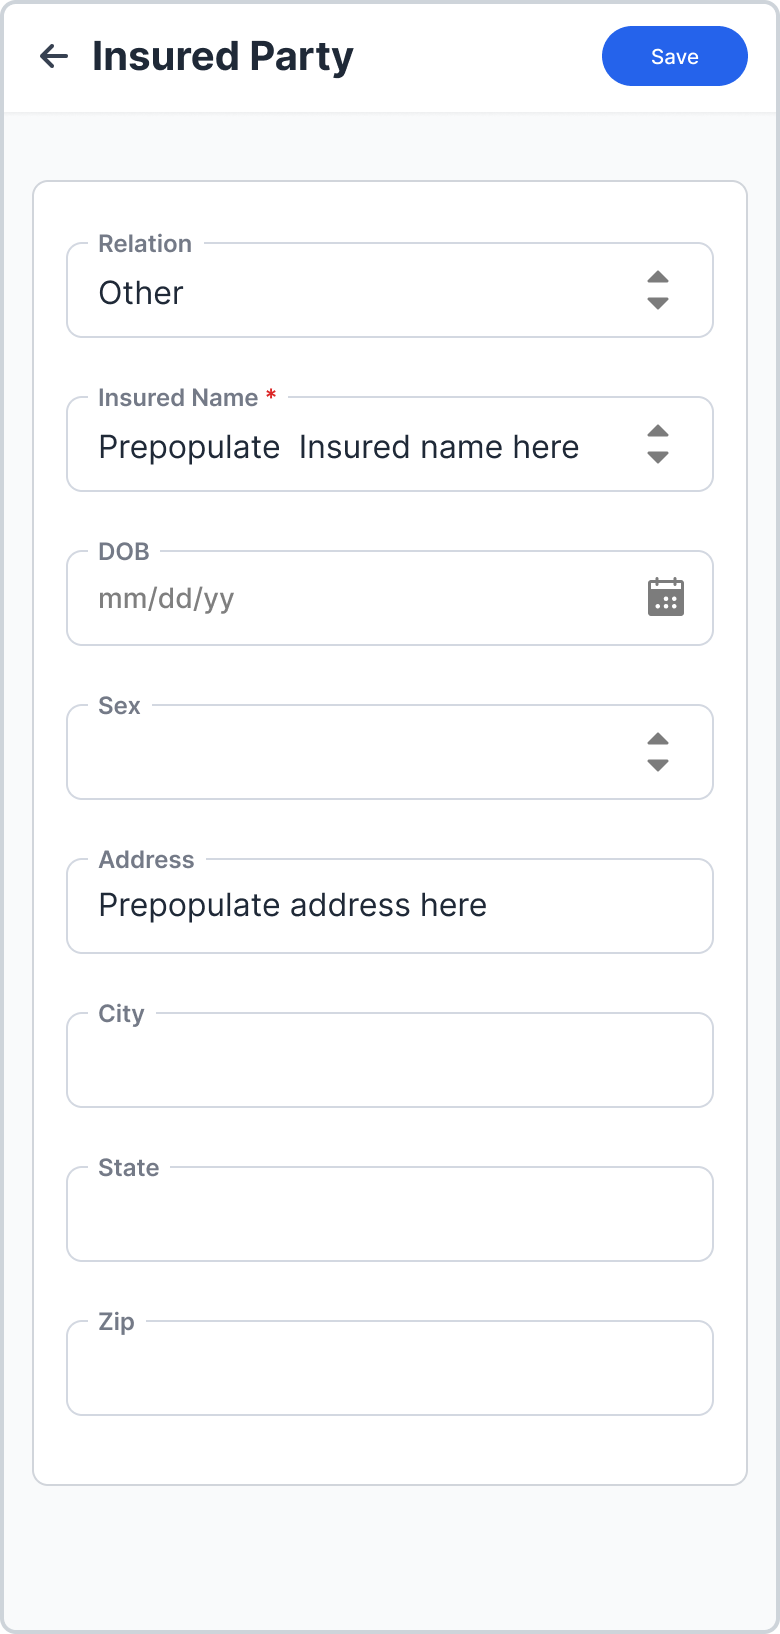
Dependent Names and address from the Azure API (JSON) will be prepopulated in the INSURED NAME and ADDRESS fields.
Messages
Communication hub separated by Active and Resolved threads.
All Messages

Contains both active and resolved messages.
Active & Resolved
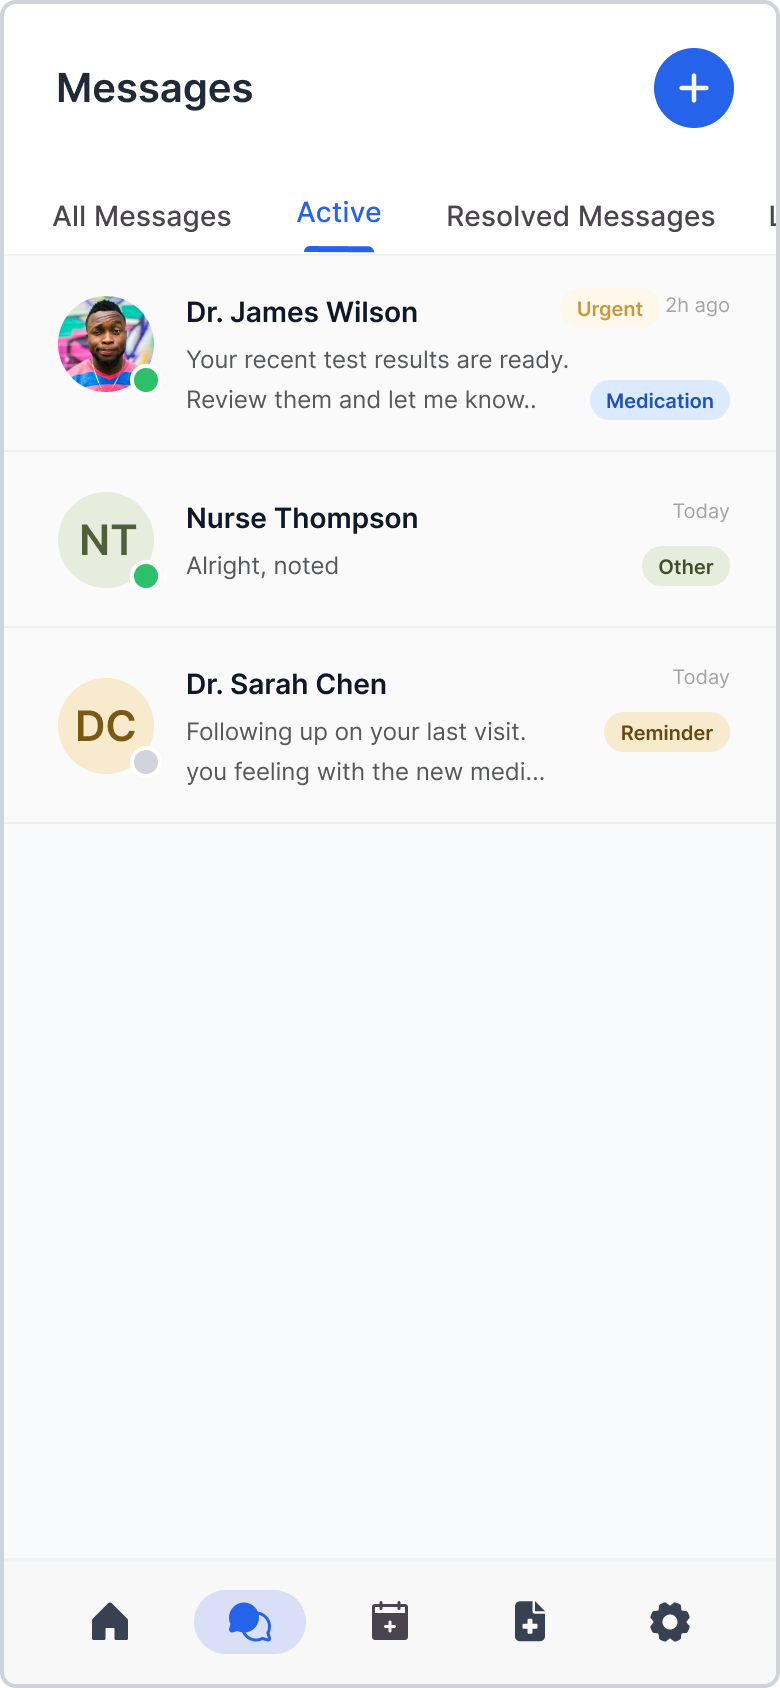
Reminder messages are saved here and move to "Resolved" if handled from the dashboard.
Create New
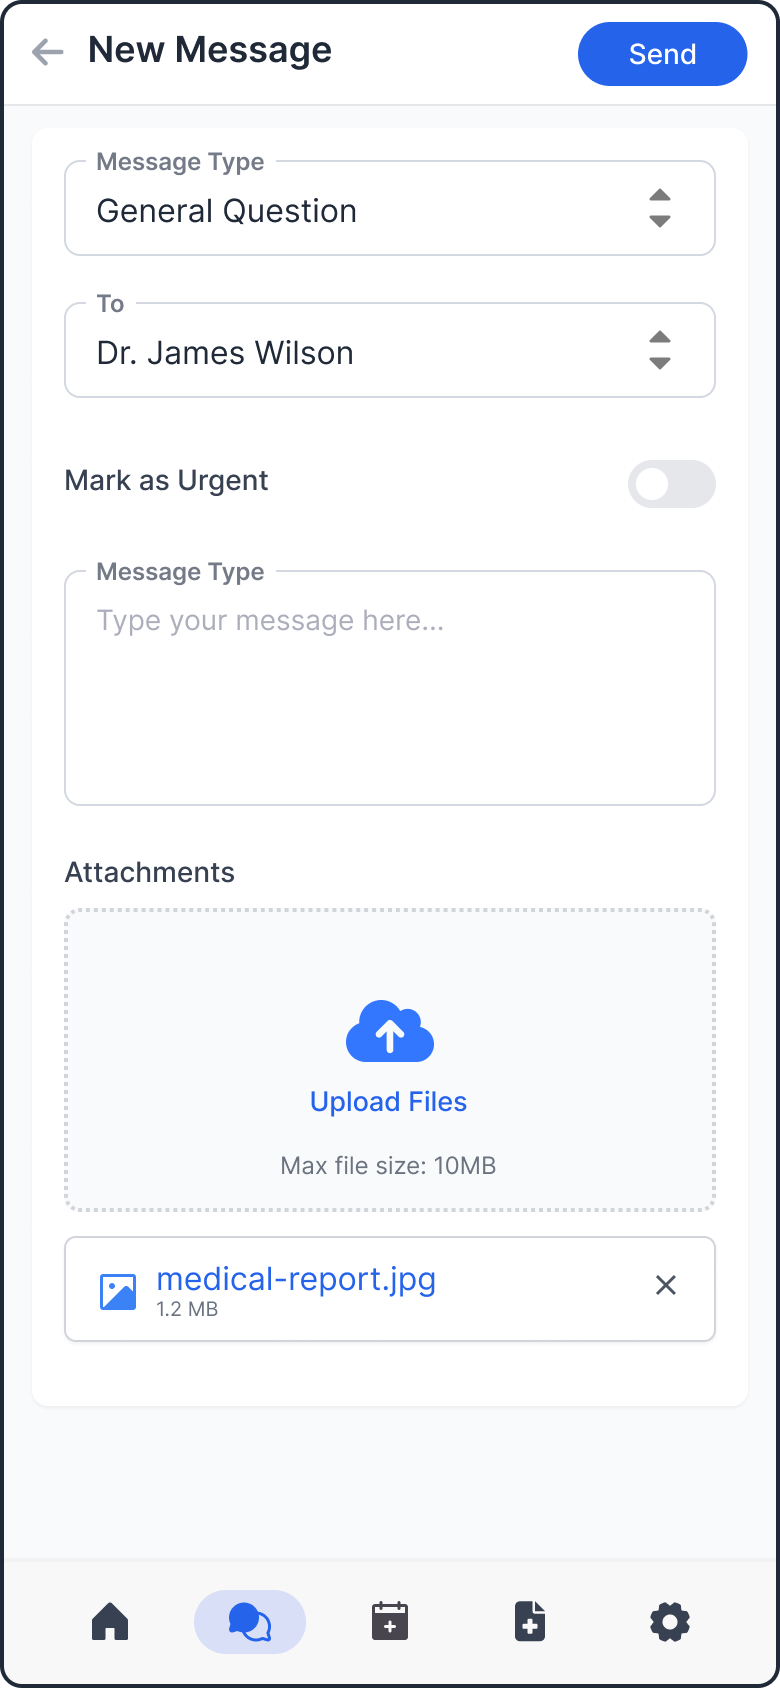
No new functionality added.

Clicking a message card opens its detailed view where patients can reply or resolve the conversation.
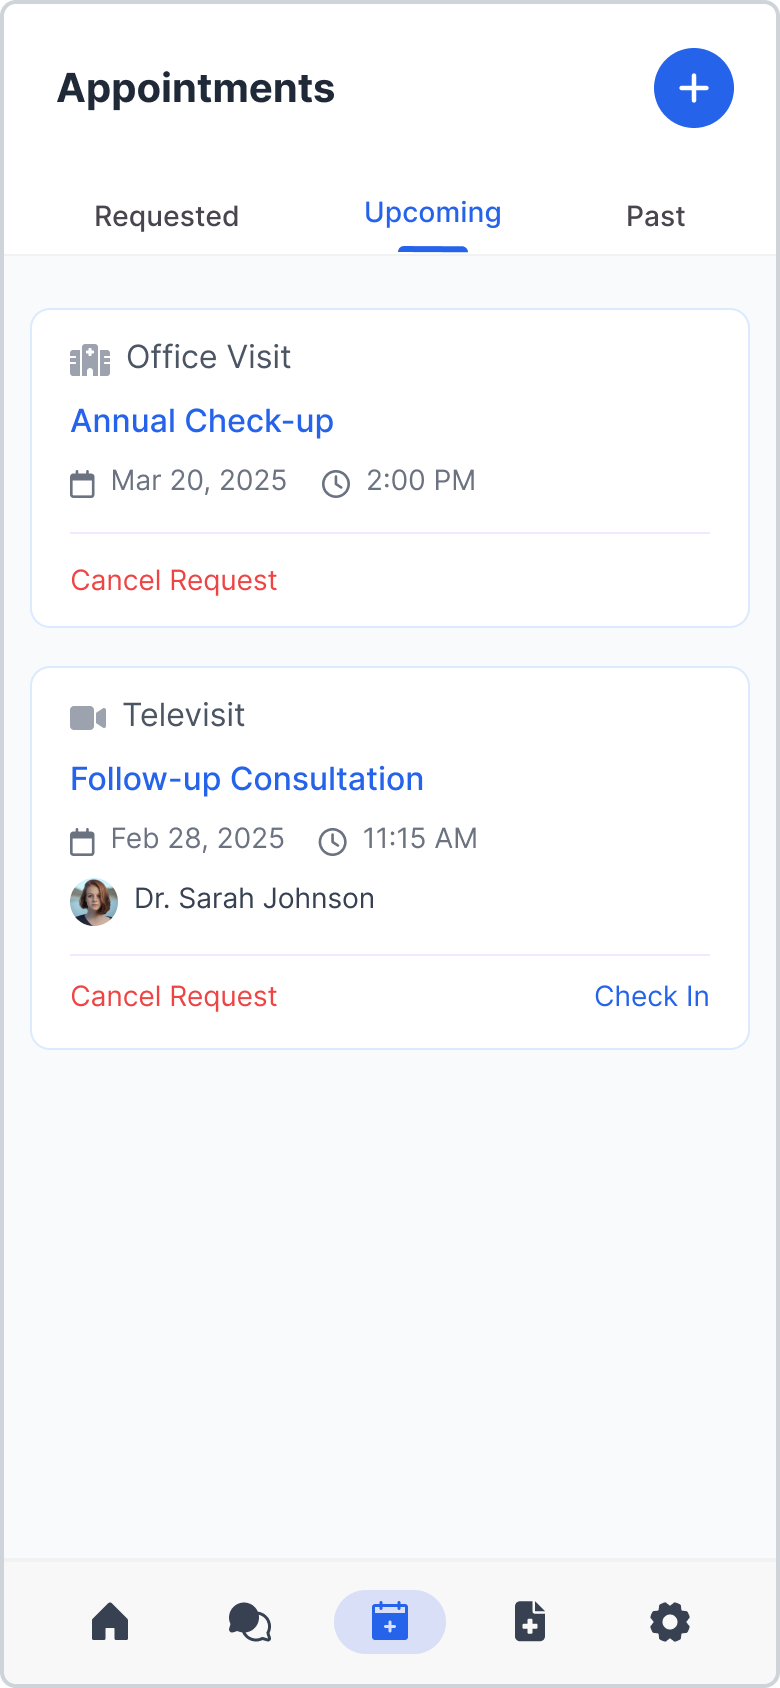
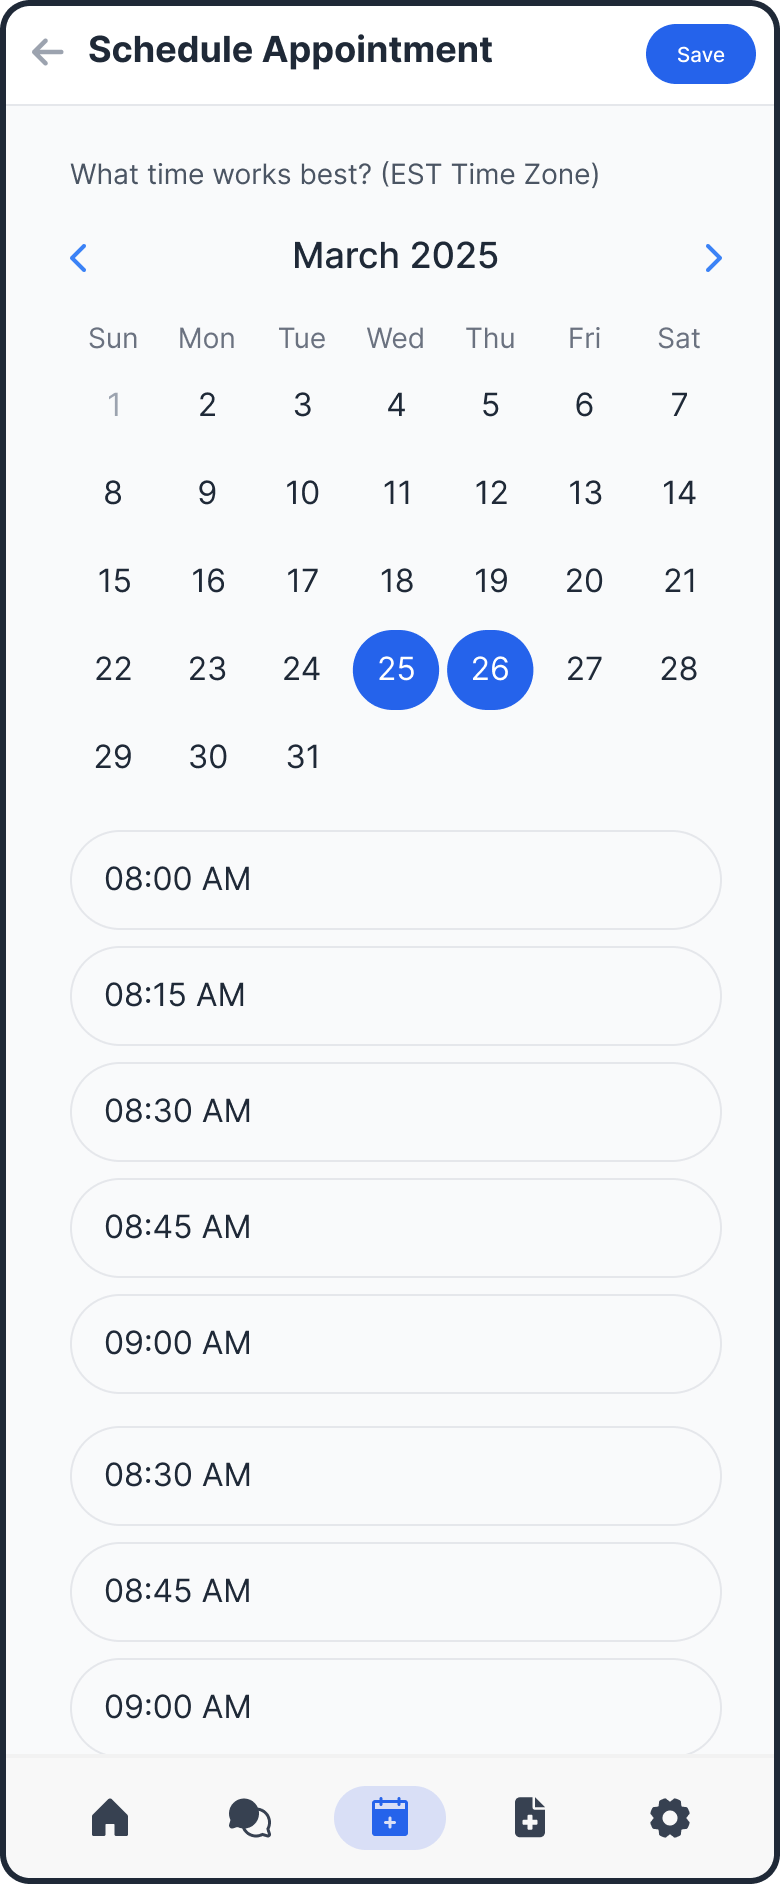
Appointments
View requested, upcoming, and past appointments, or schedule new ones.
Requested

Upcoming
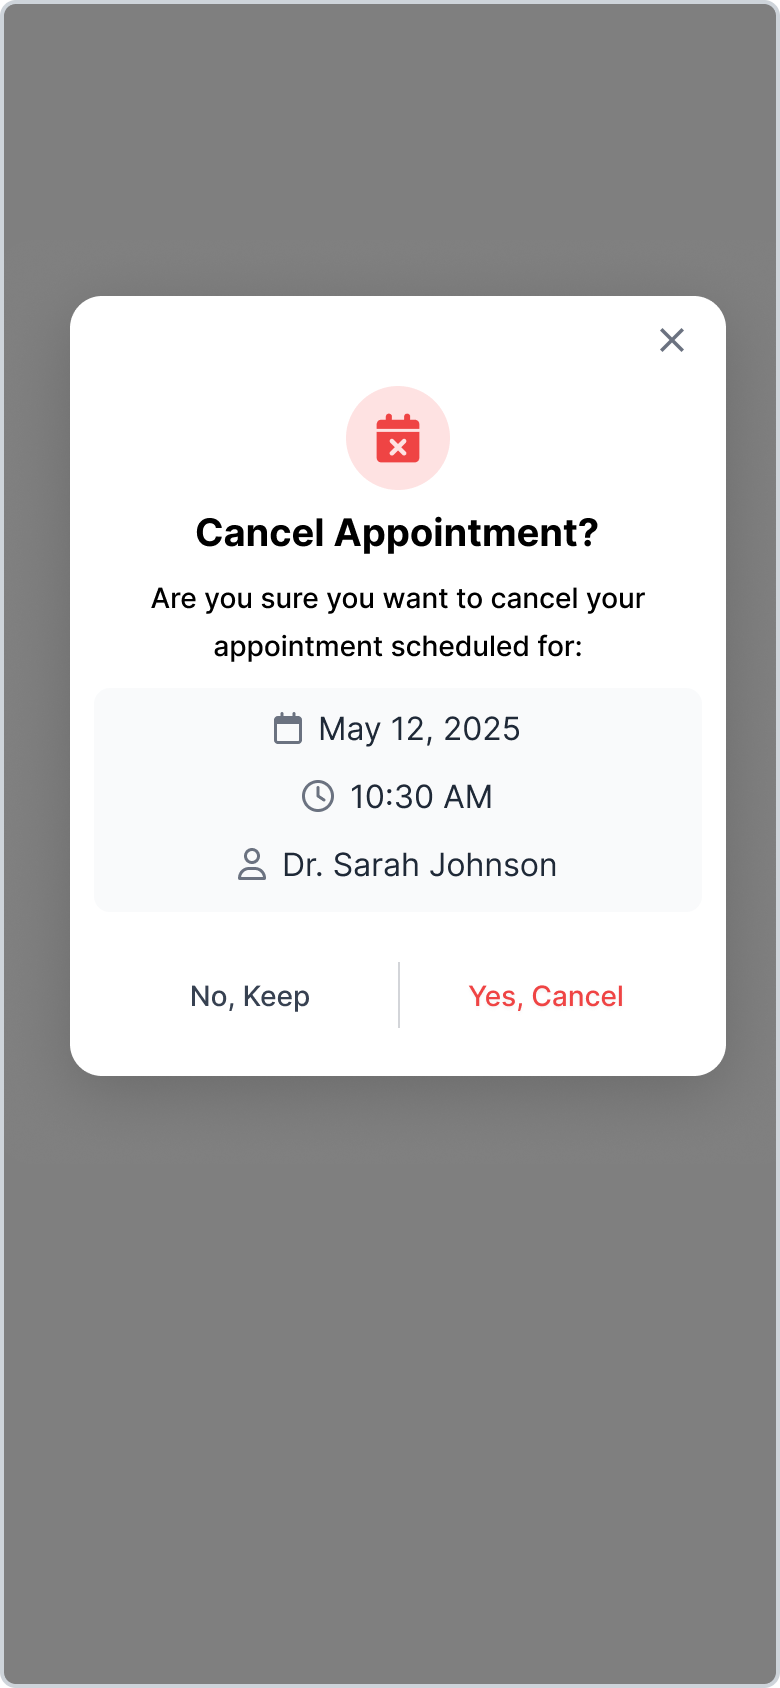
Cancellation Prompt
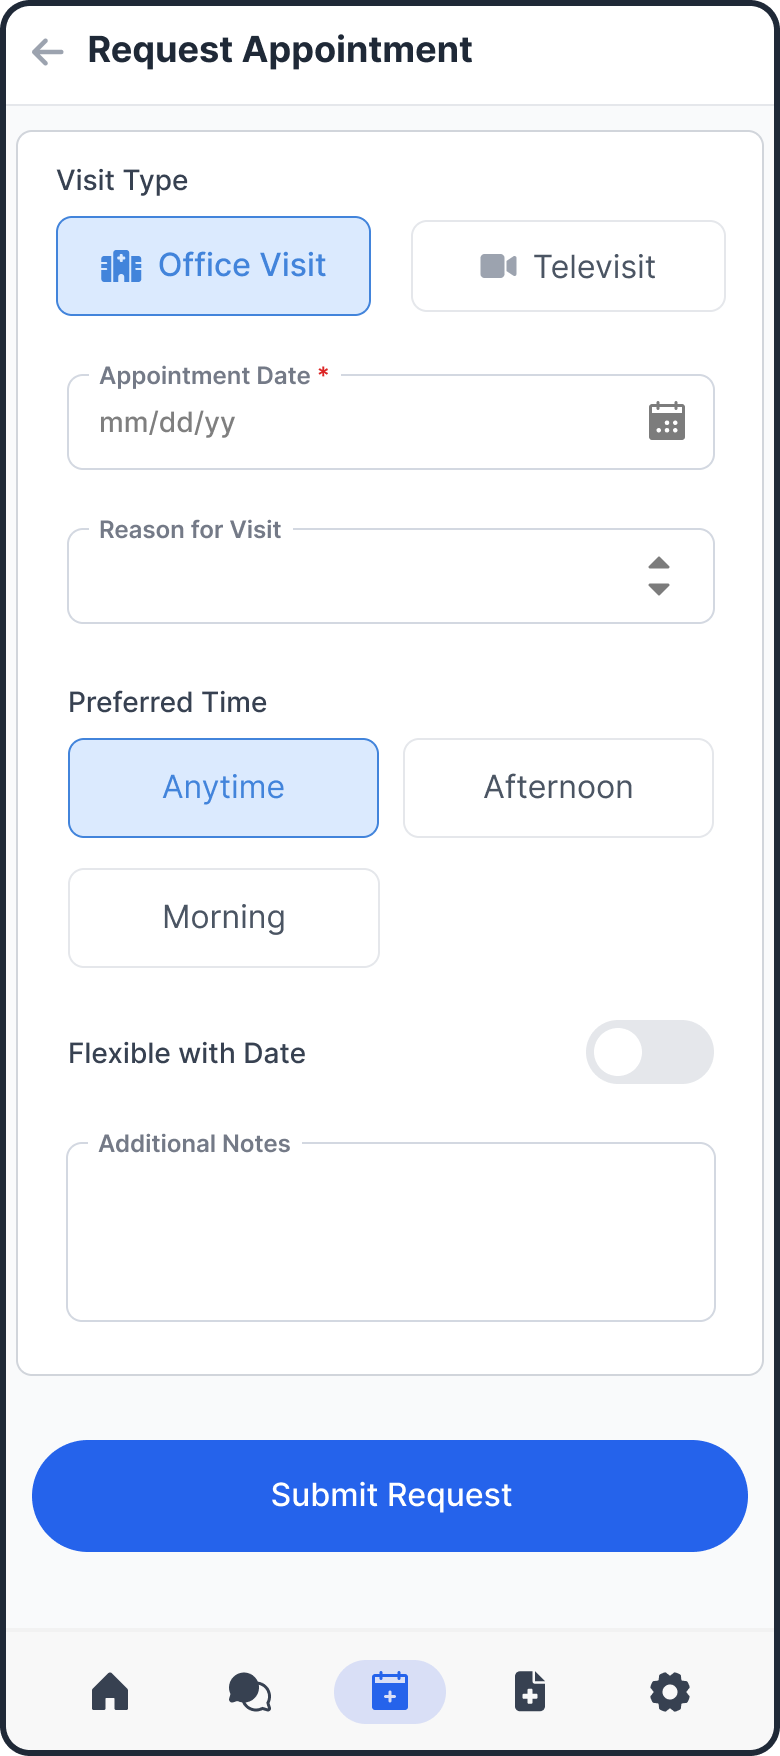
Standard Request Form
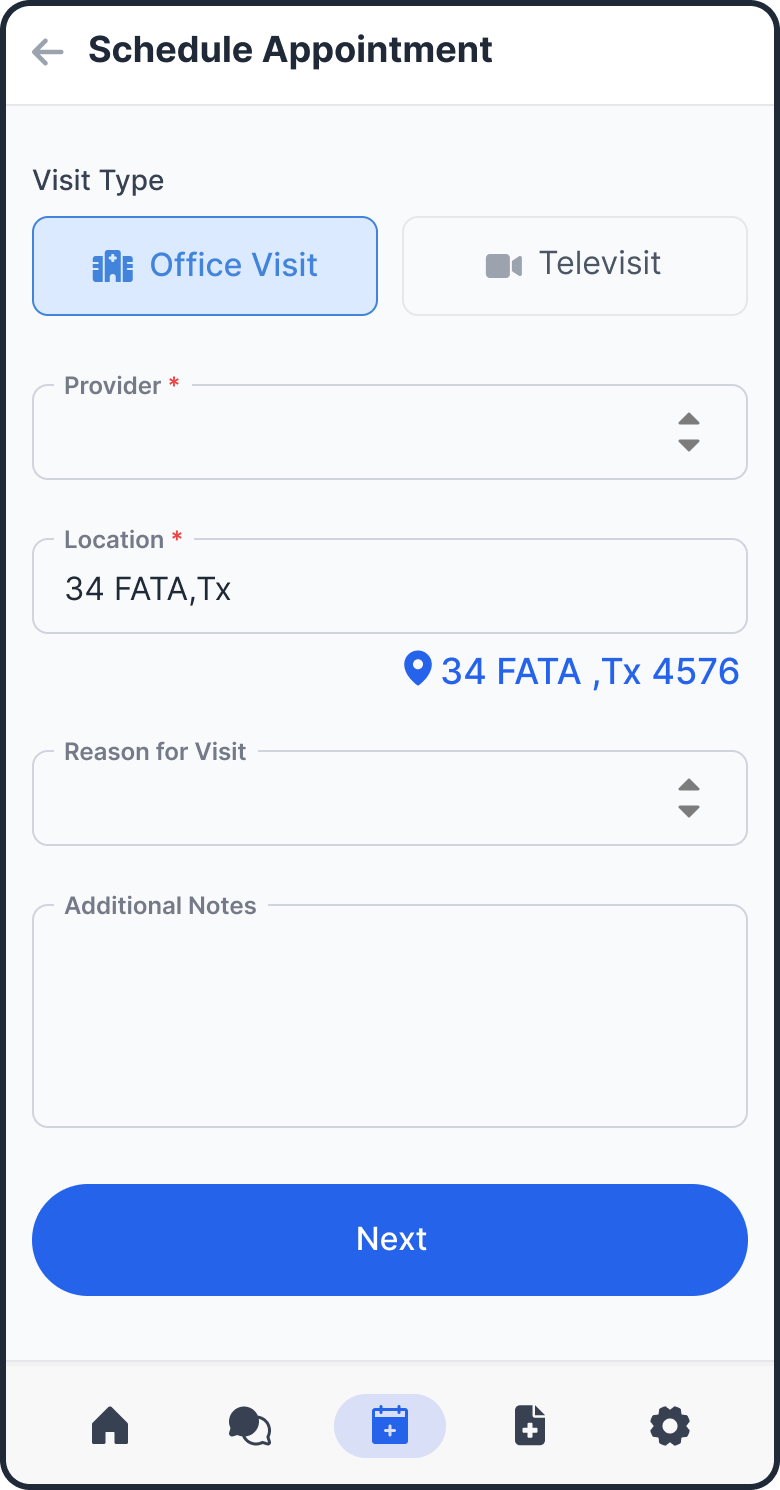
If the Portal Online Appointment Flag is enabled via the support portal configuration, "Request Appointment" is replaced with "Schedule Appointment", allowing patients to book directly.
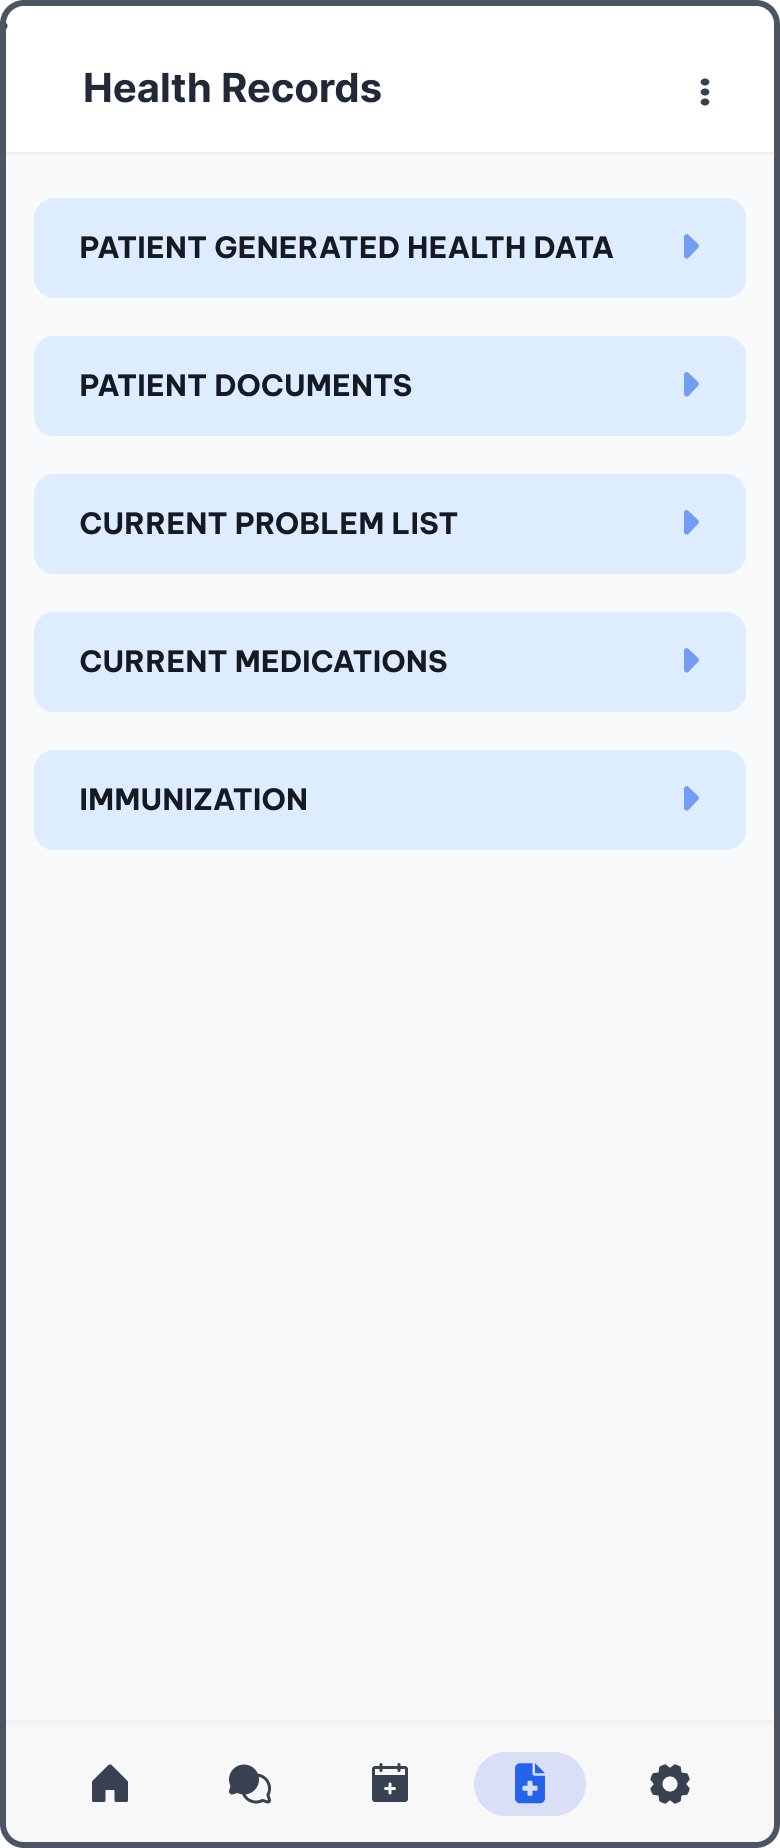
Health Records
Patient chart summaries and C-CDA transmission.
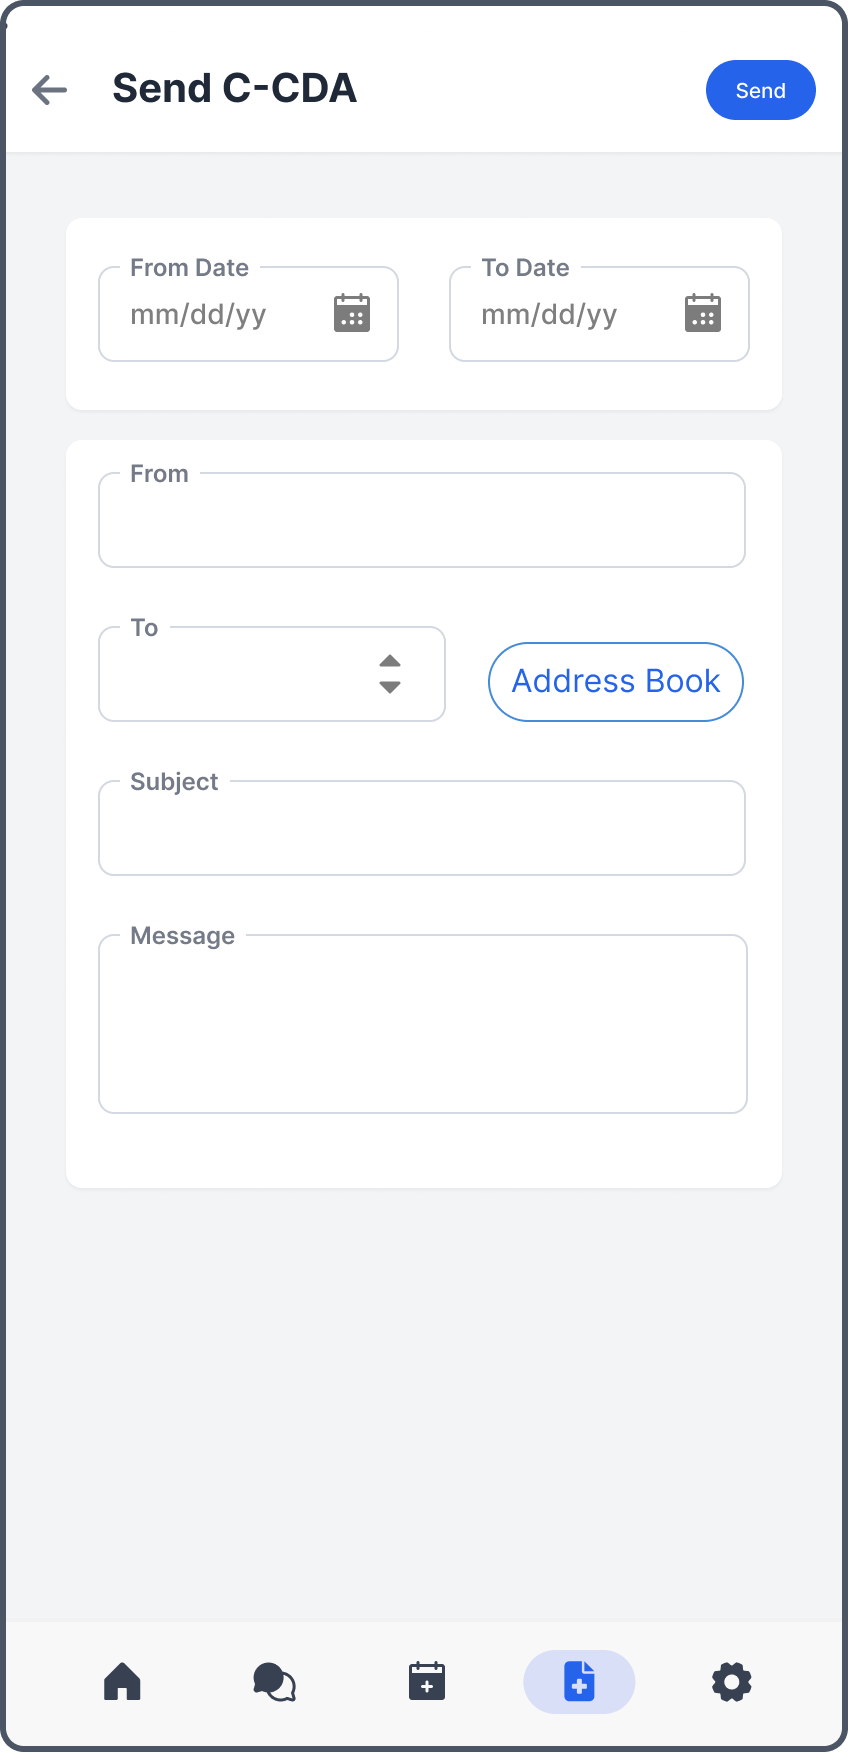
A summary of the patient's chart can be viewed here. Users can also transmit C-CDA data.
Main Menu
Transmit C-CDA
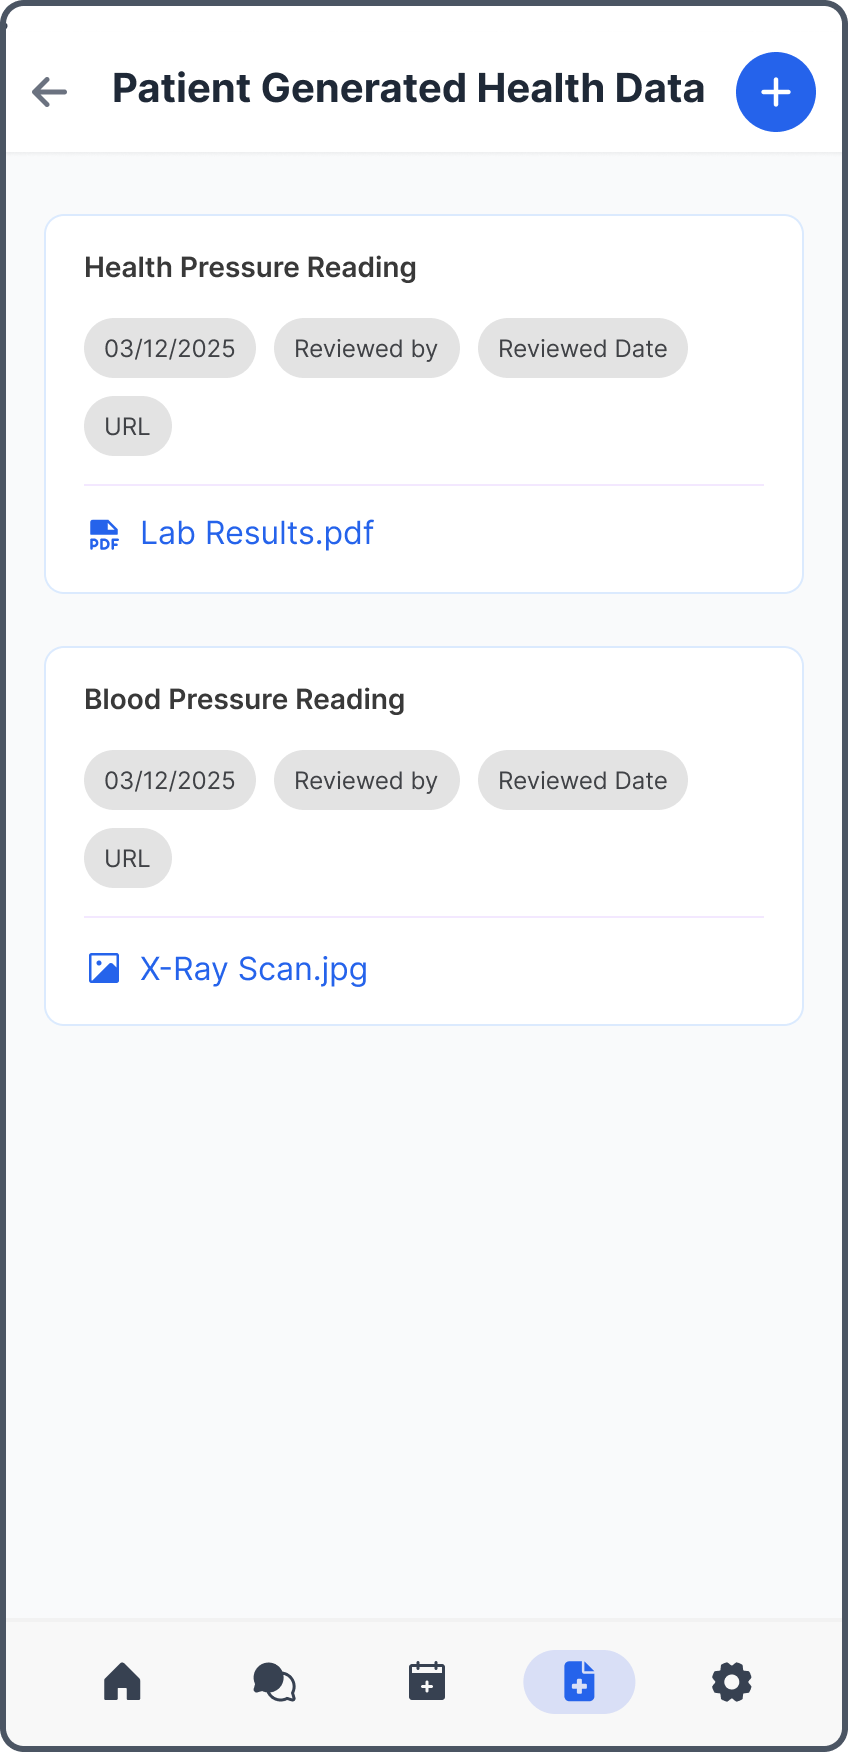
Patient Generated Data
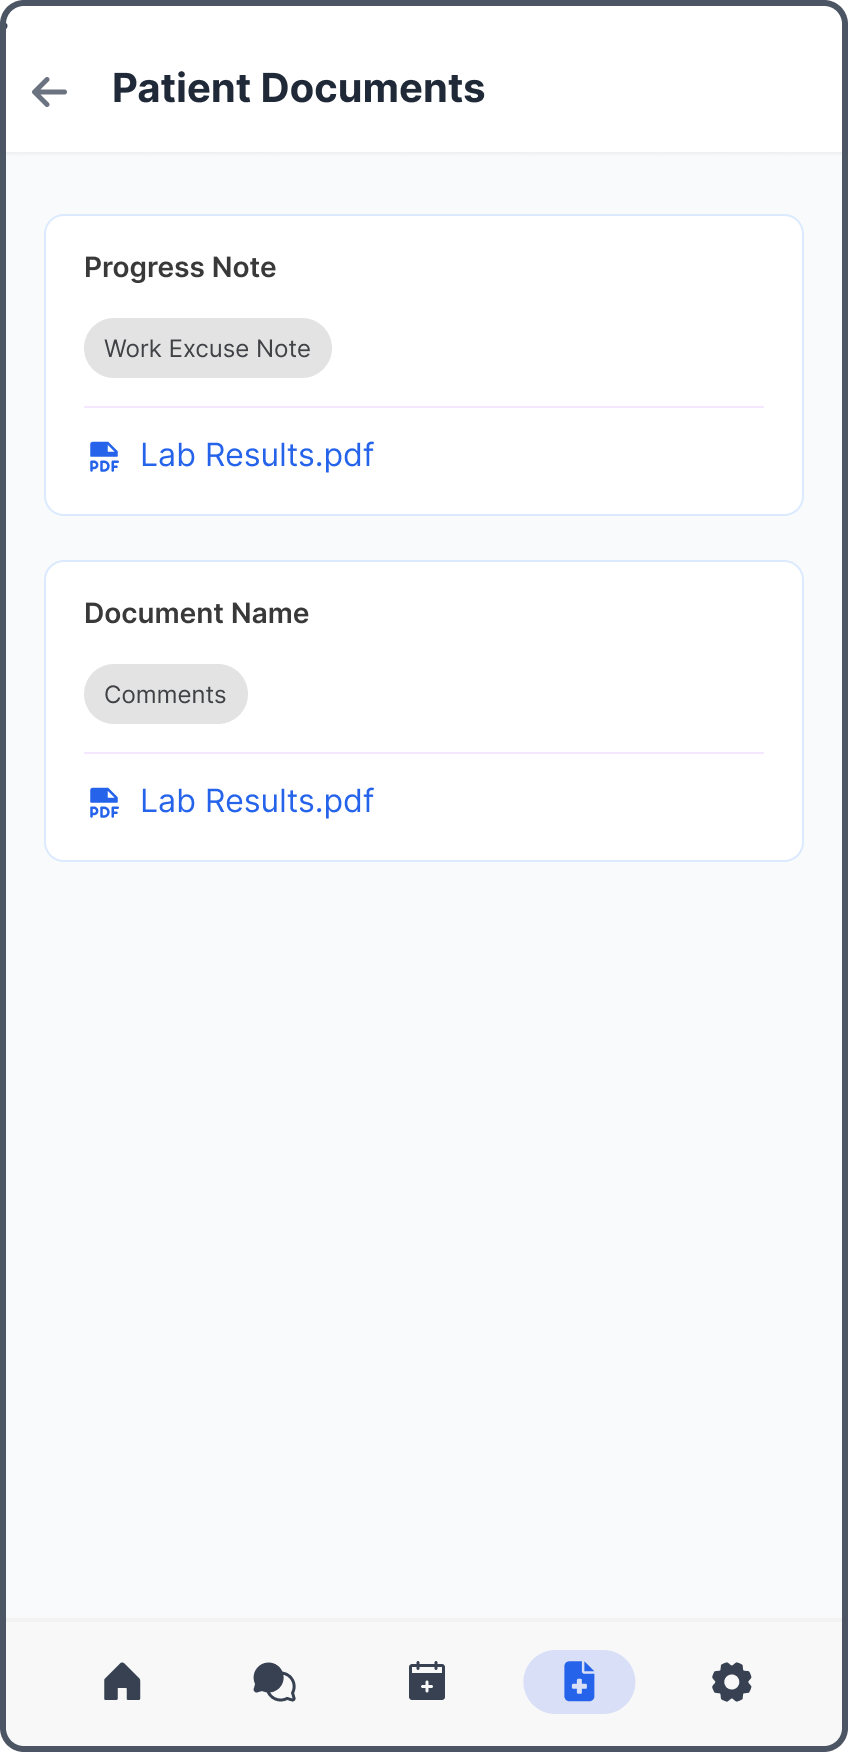
Documents
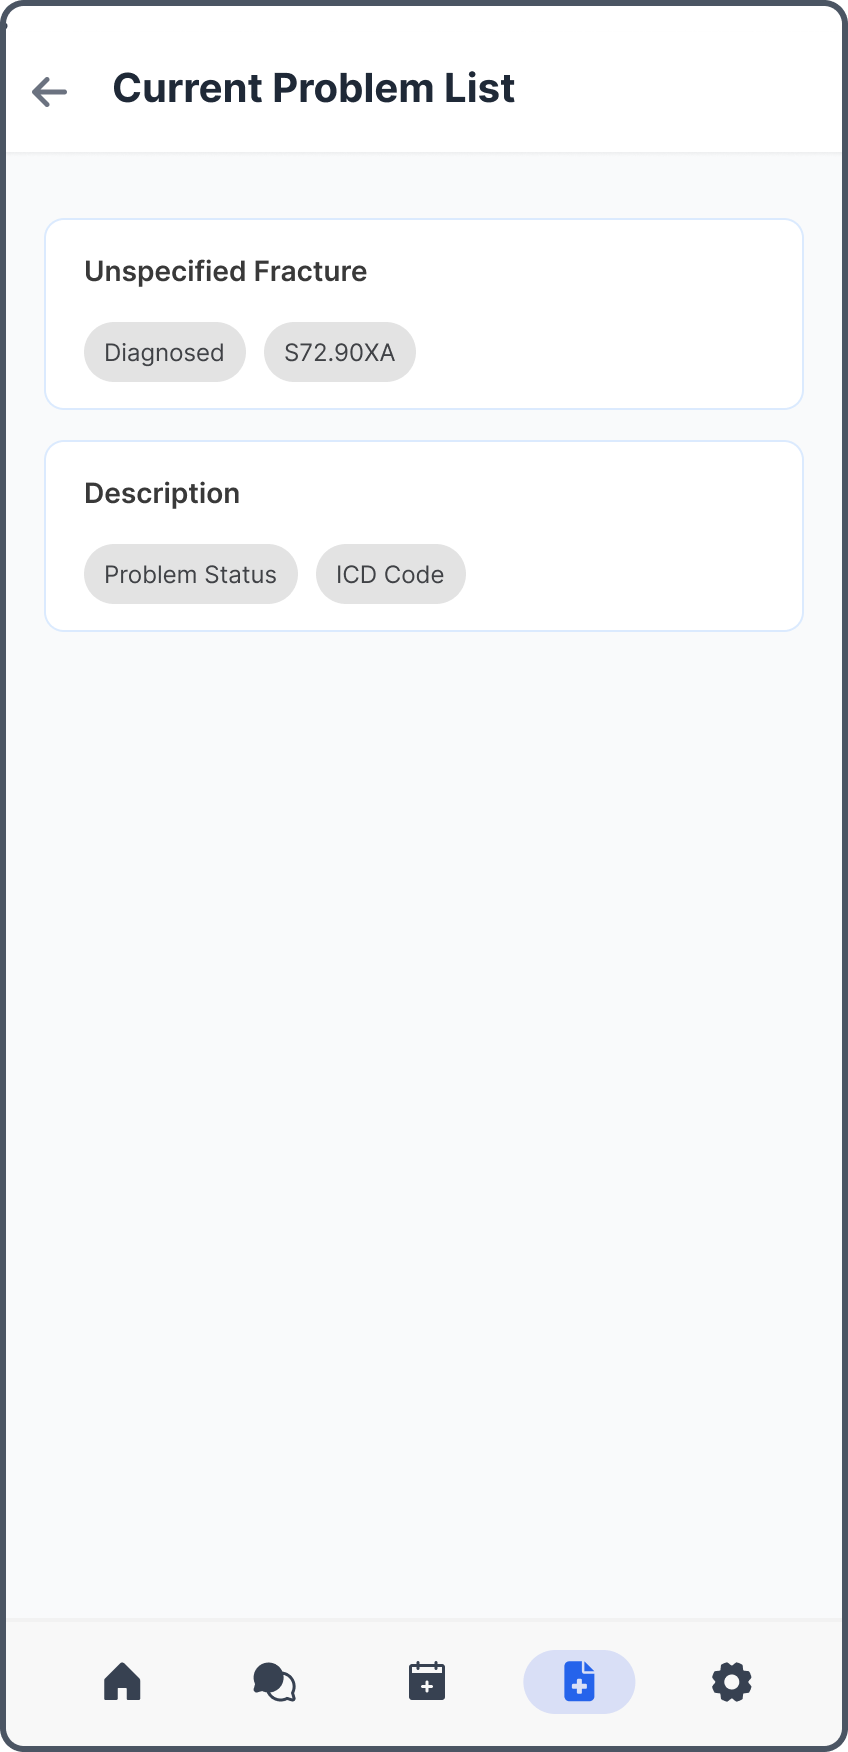
Problem List
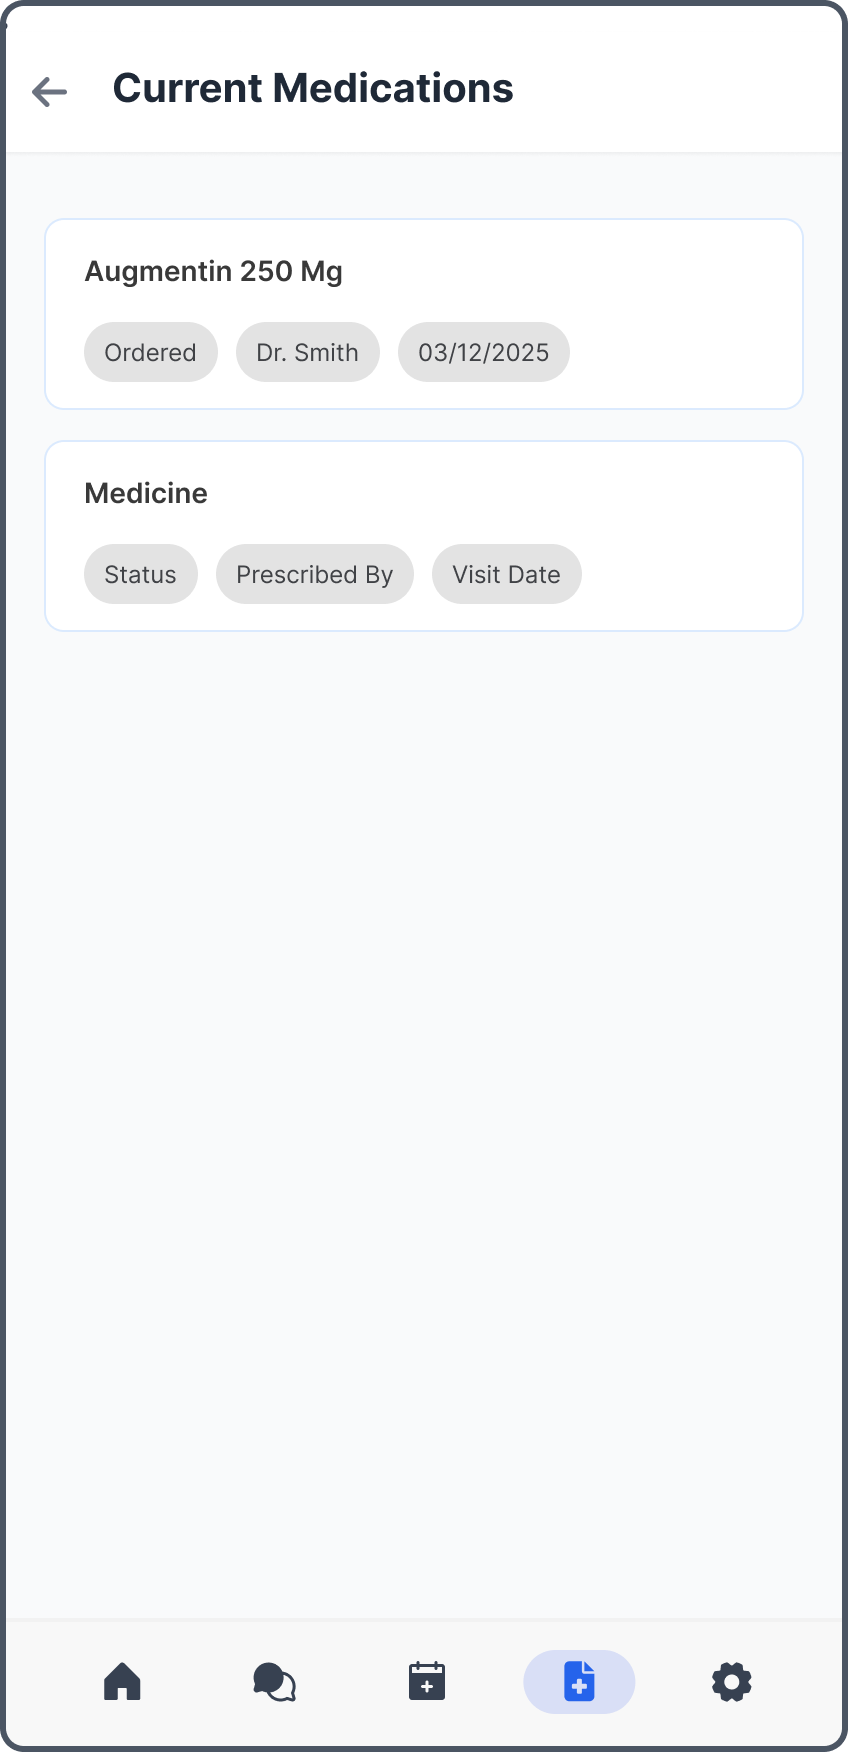
Medications
Settings
Manage Demographics, Insurance, Payment Methods, Representatives, and Account Settings.
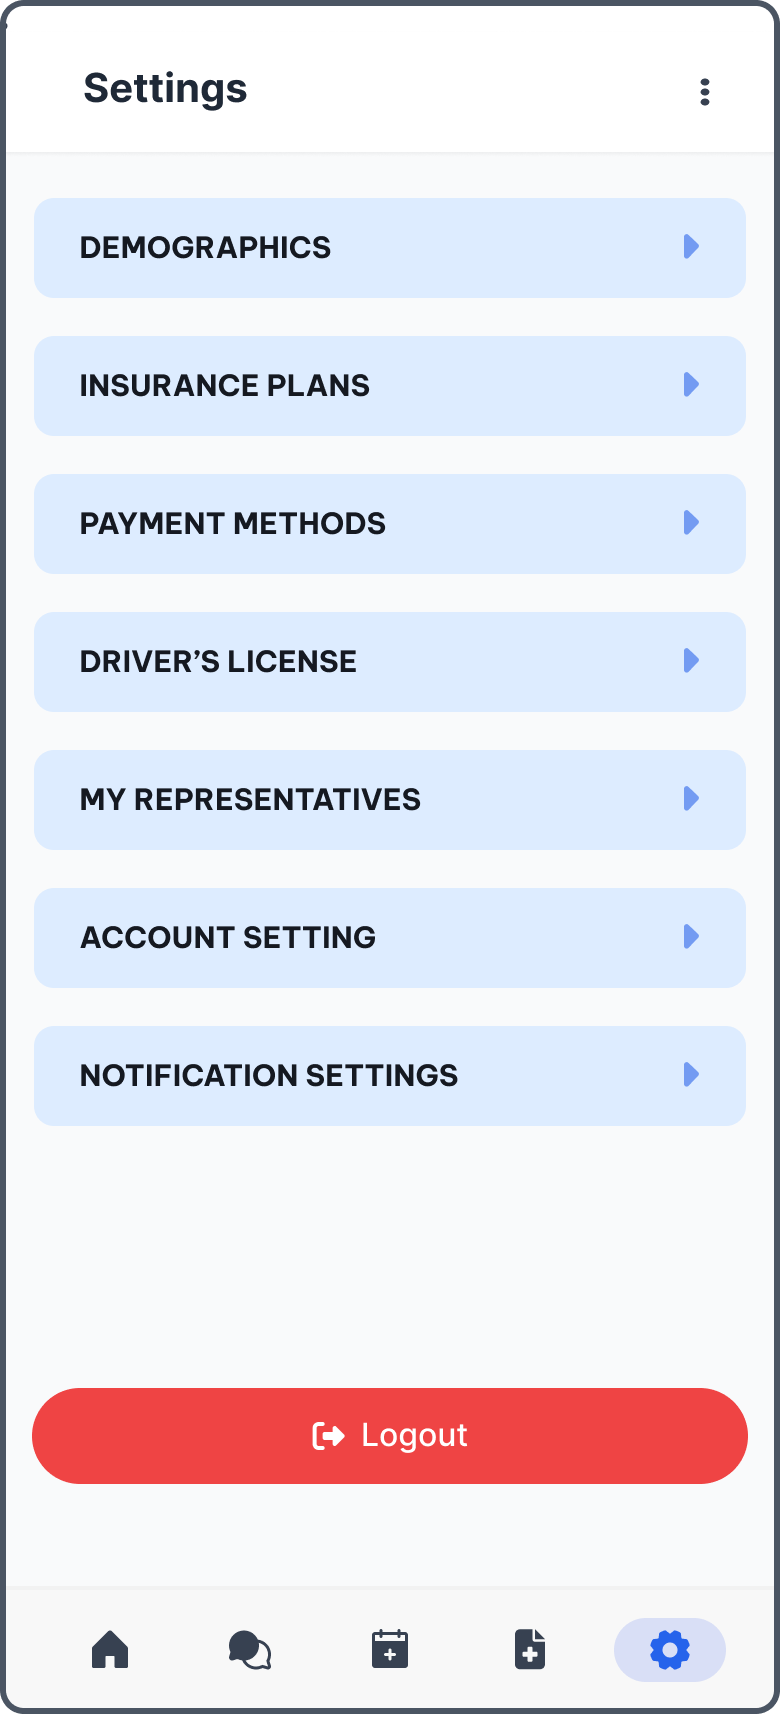
Contains 7 sections: Demographics, Insurance, Driver's license, Payment Methods, My Representatives, Notification settings, and Account Settings.
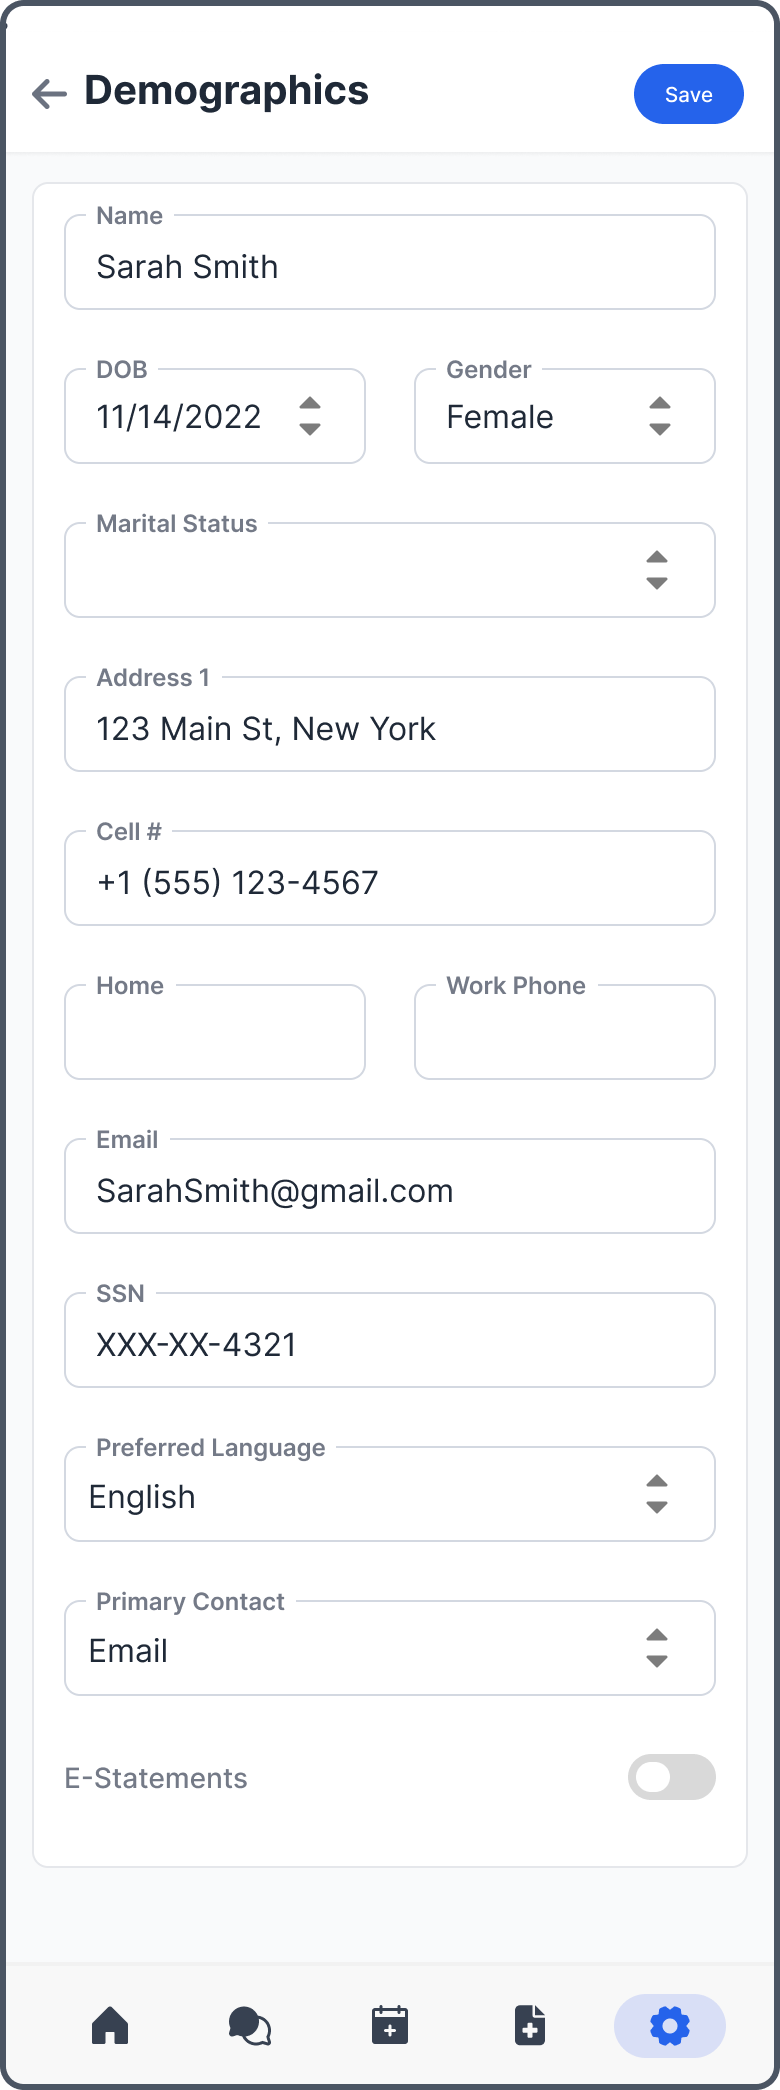
Demographics
Payment Methods
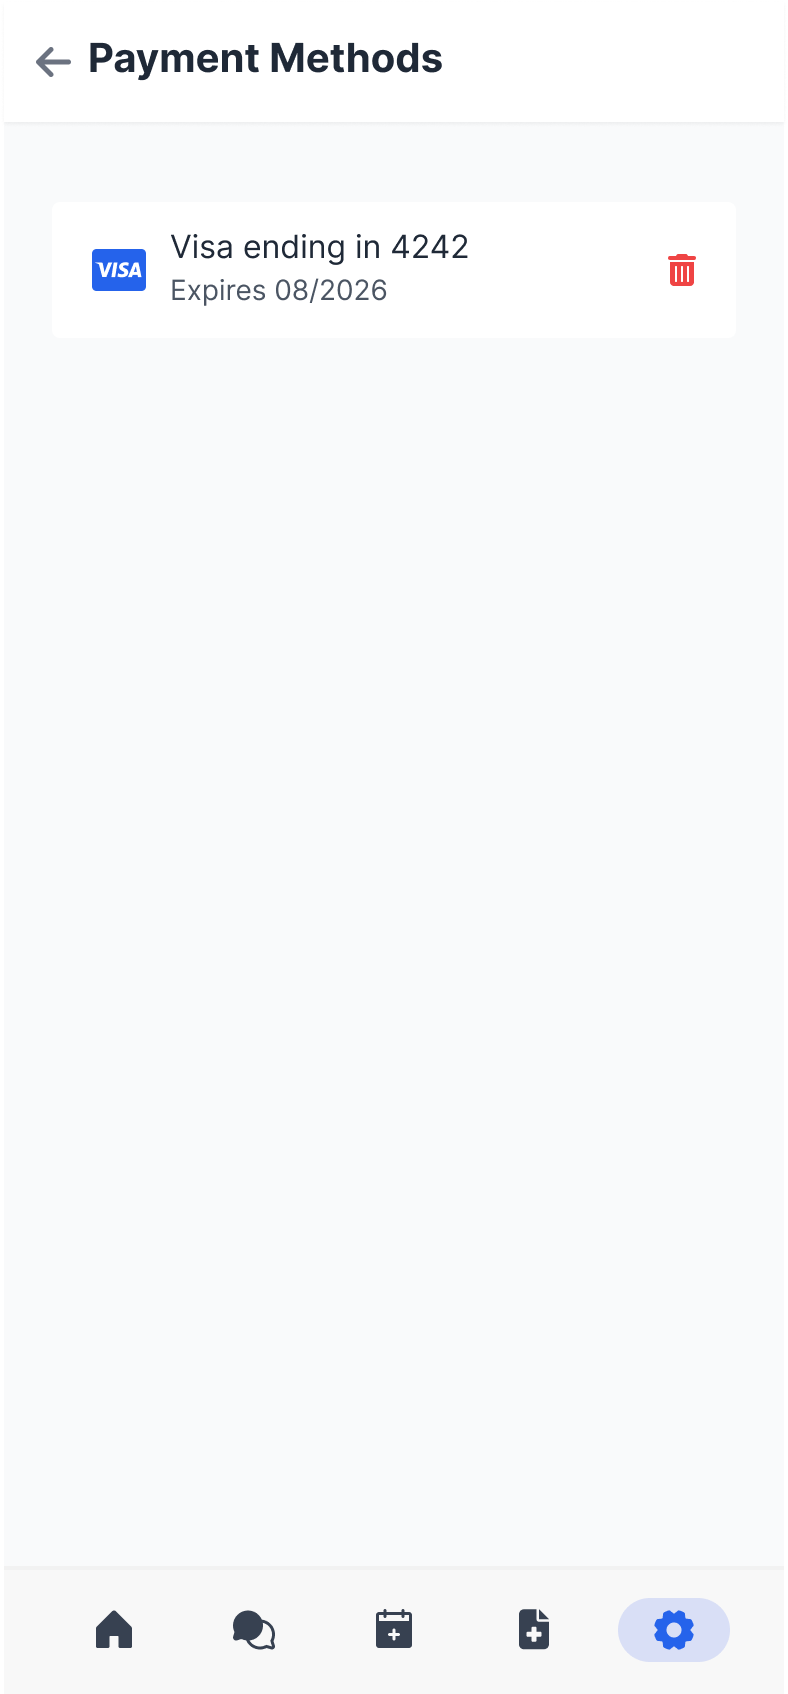
Note: Credit card information should only be stored for users who are integrated with our merchant services.
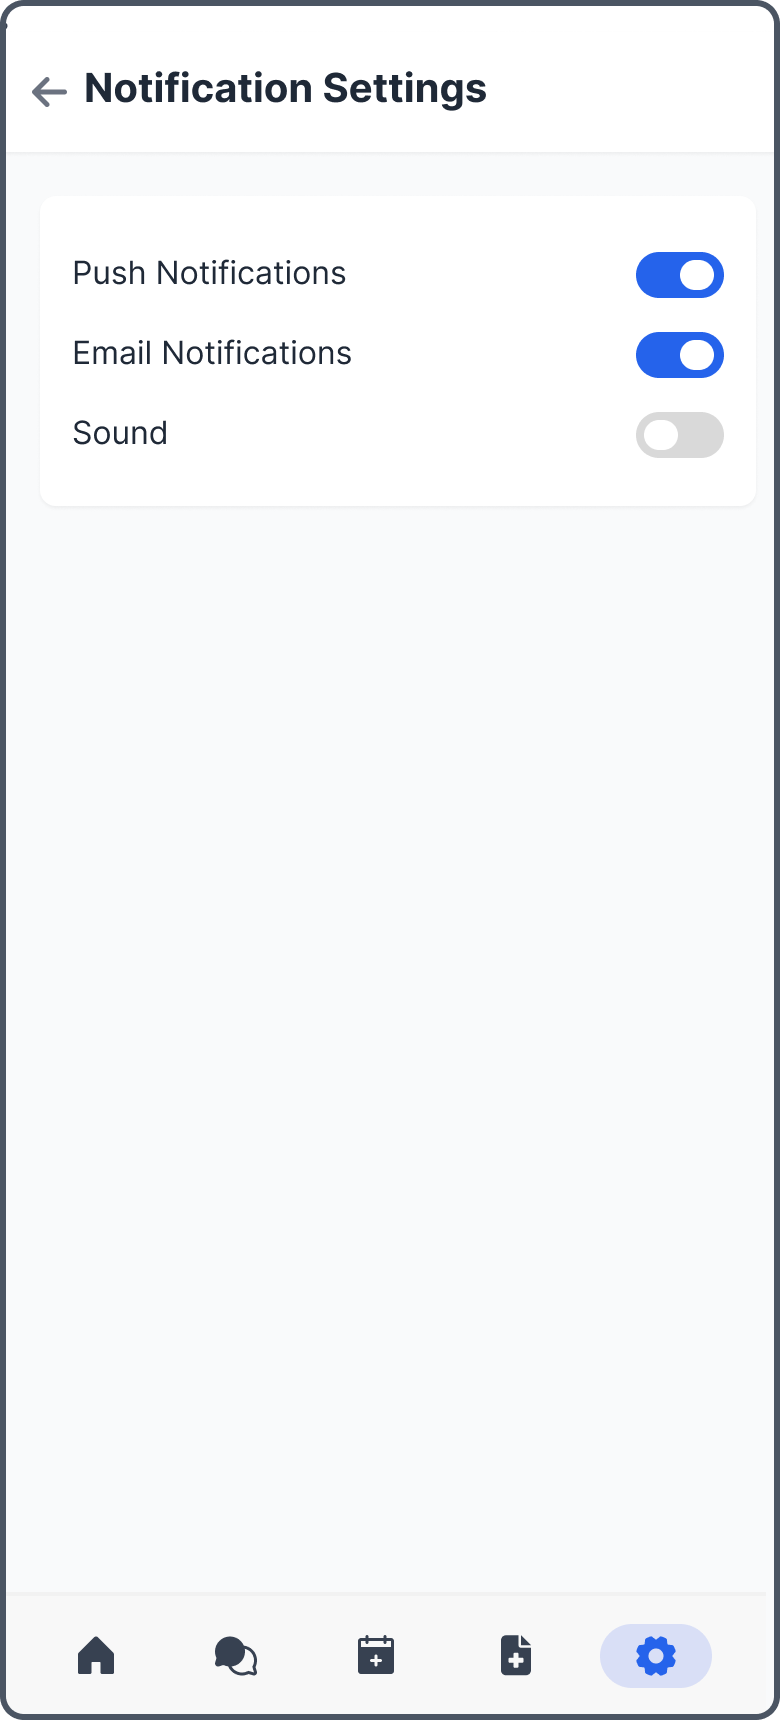
Notification Settings
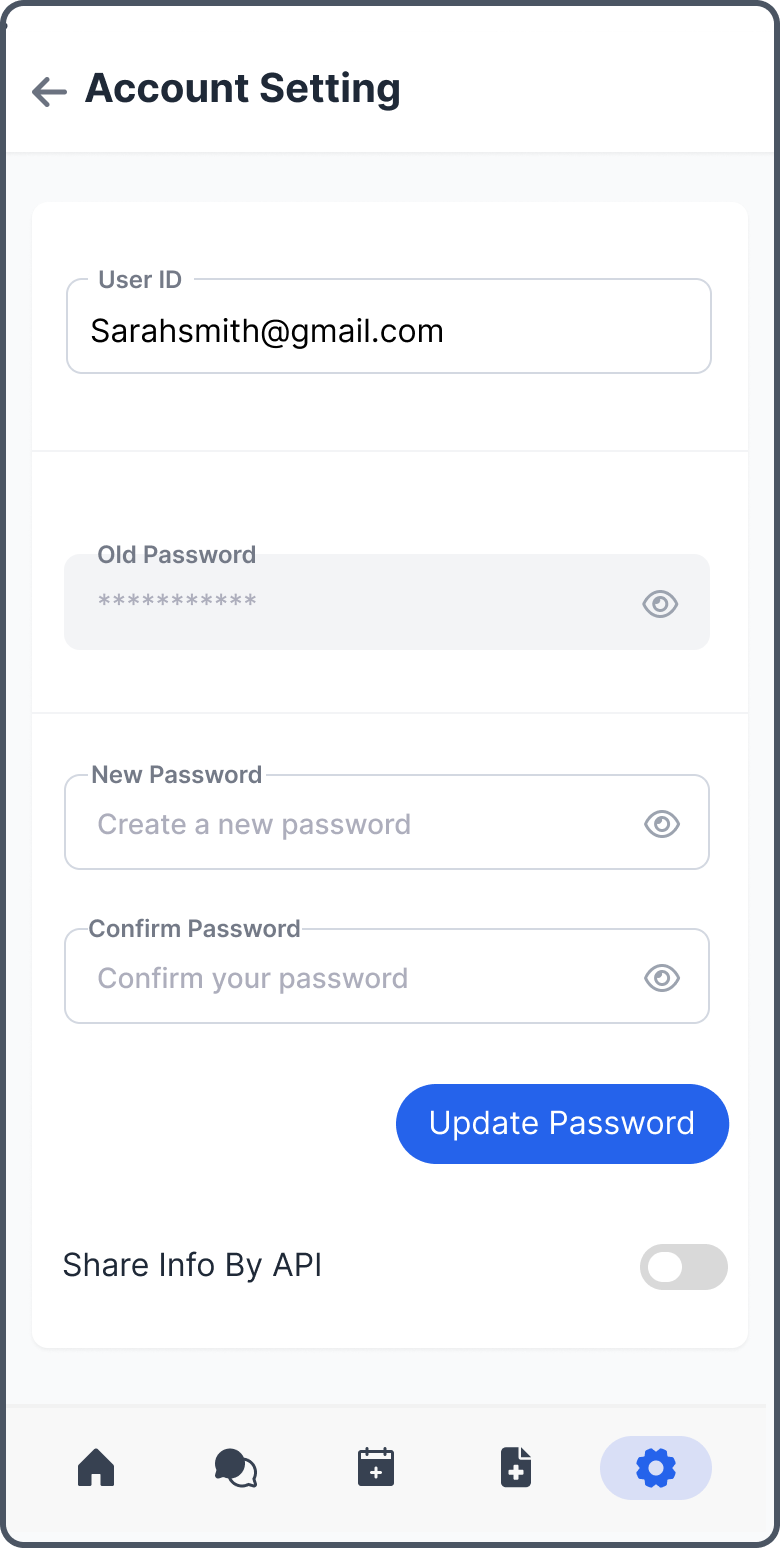
Account Settings
List
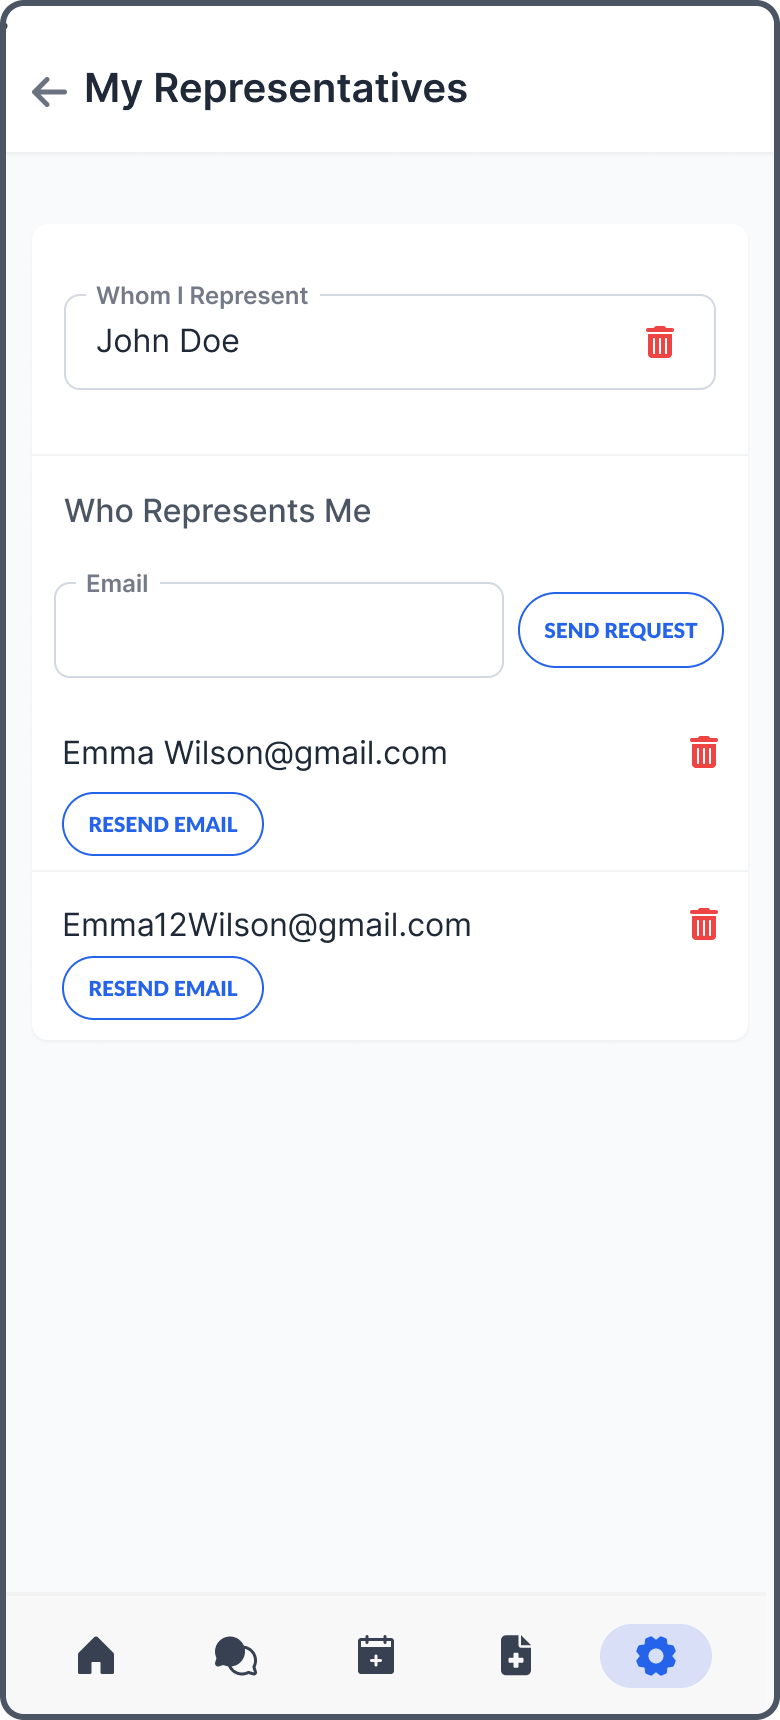
Delete Confirm
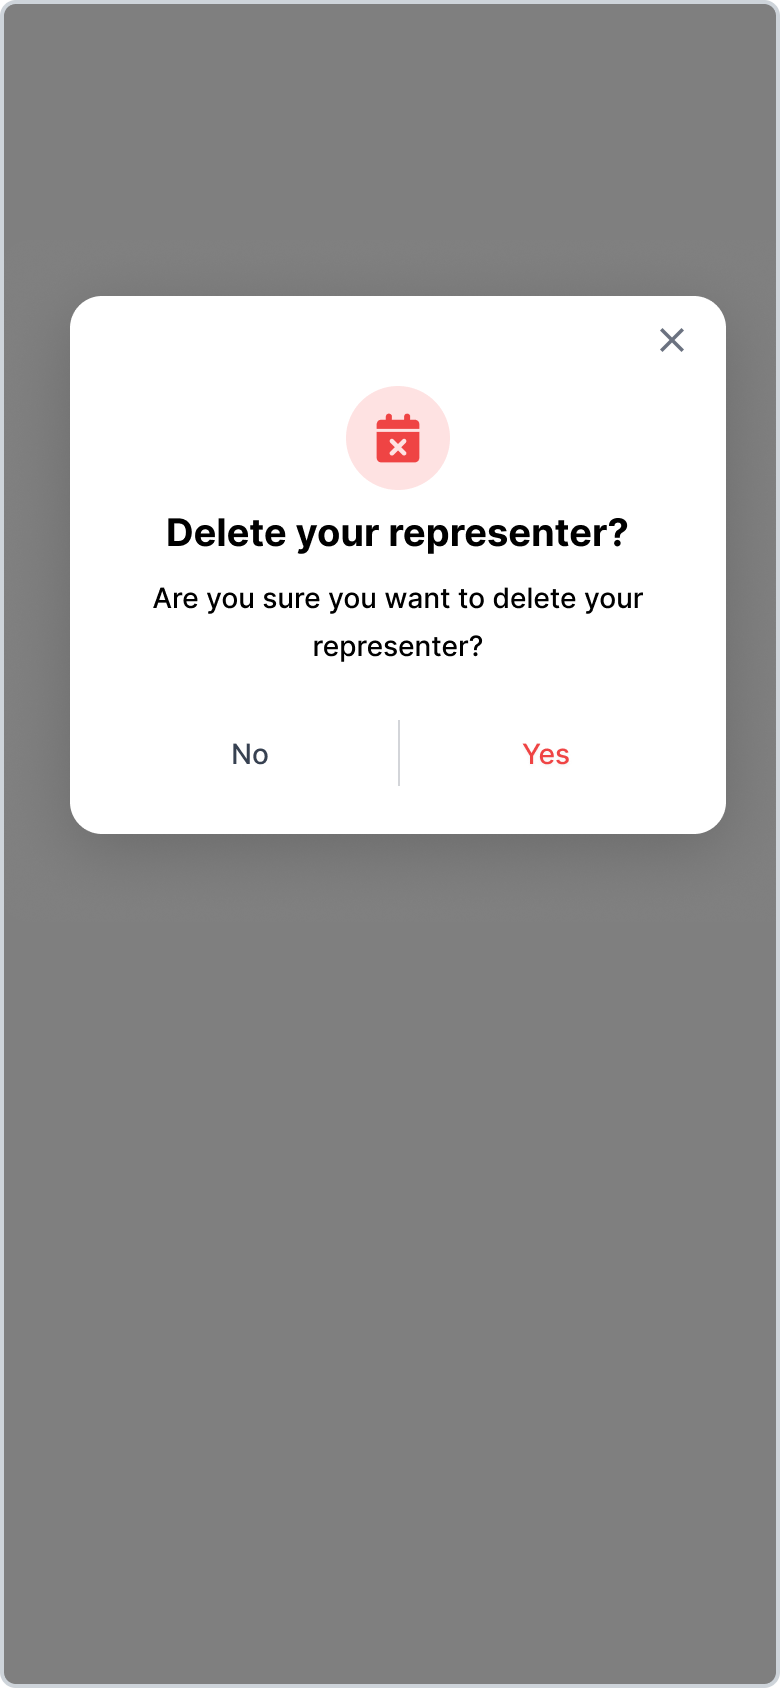
Deleting a representative prompts an error message if any issues occur.
Activity Log
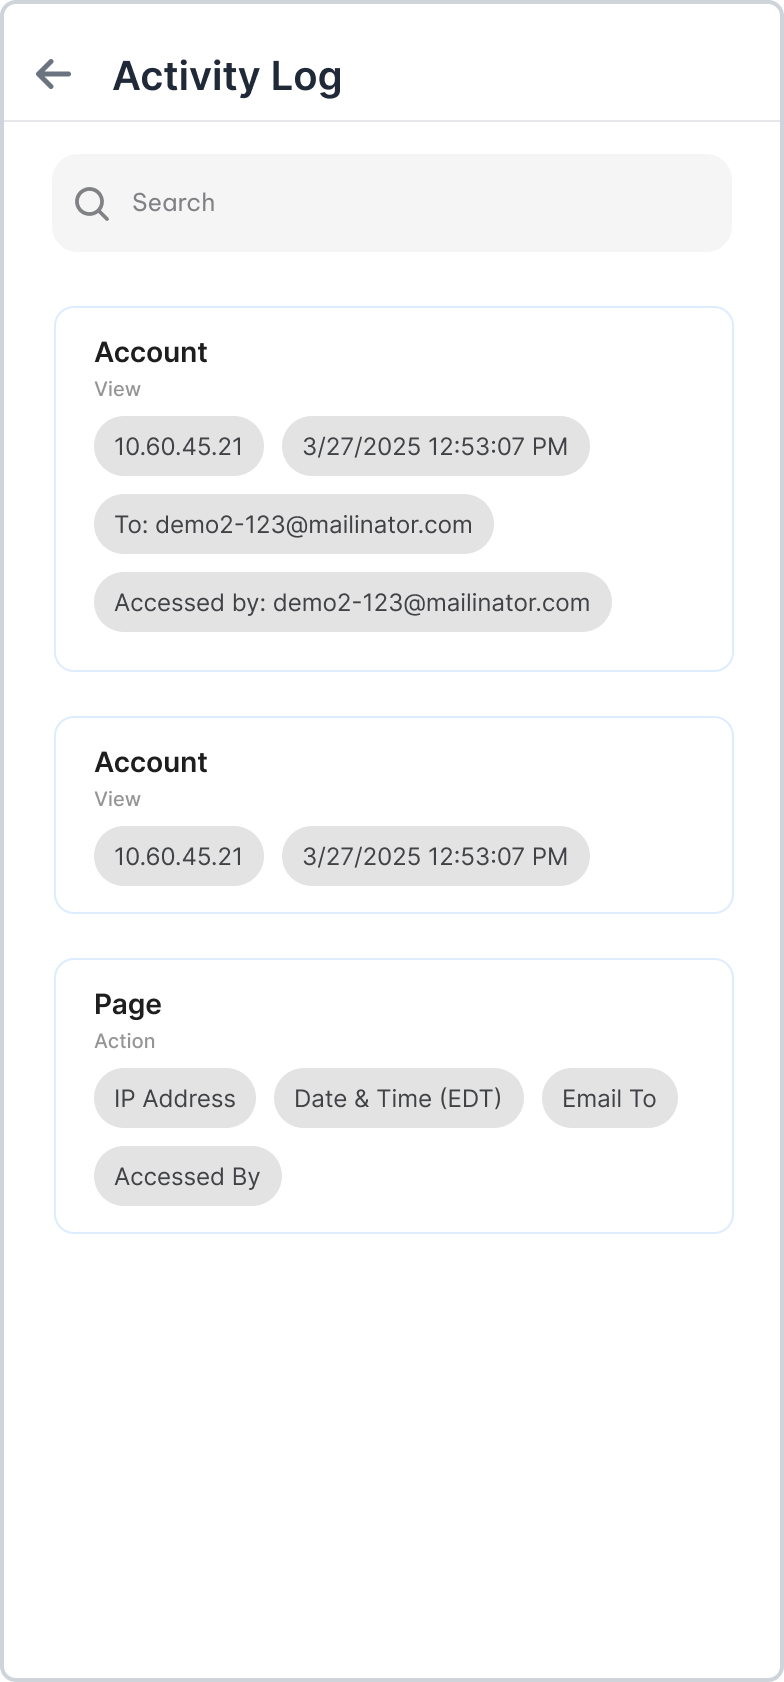
Detailed audit trail window.
Account Switch
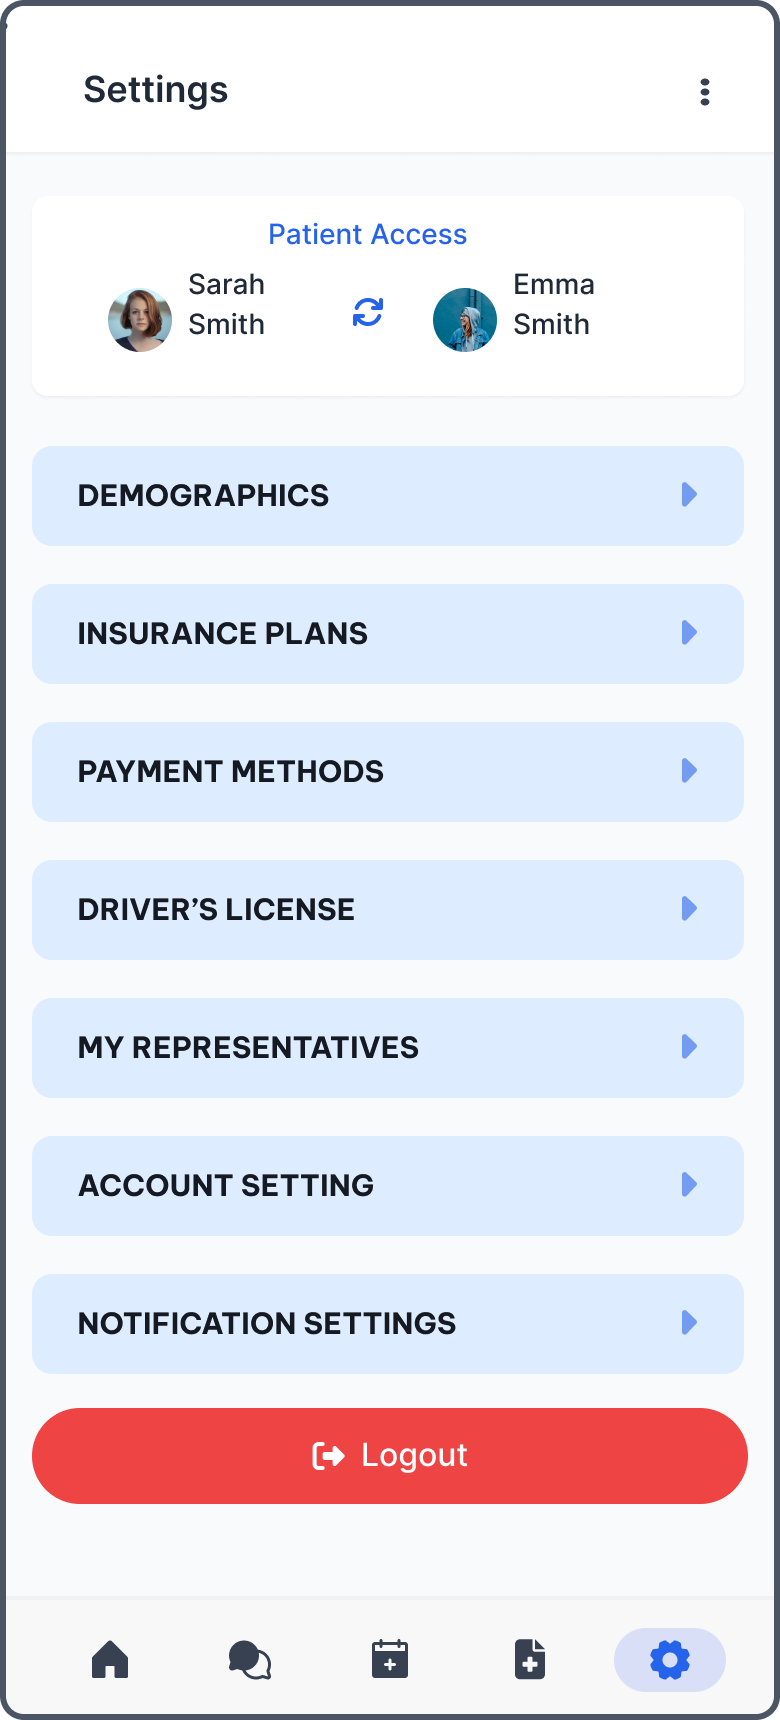
After adding a representative, users can toggle between patient accounts using the switching icon in the Settings header.